*This post MAY contain affiliate links. That means that if you make a purchase after clicking on a link I may earn a small commission at no extra cost to you. I don’t ever recommend something that I don’t use myself. Not all links are affiliate links. For more information, see our Privacy Policy.
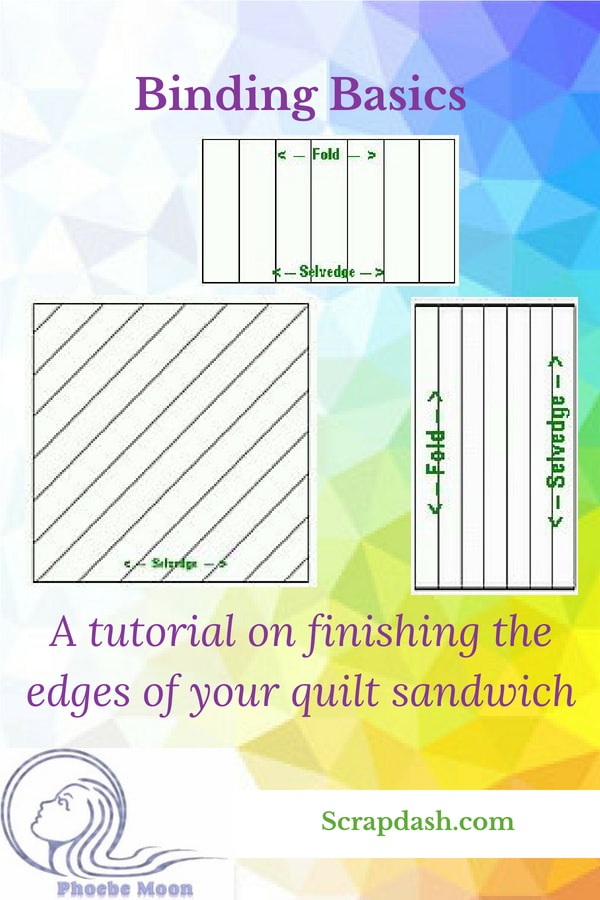
Binding Basics
There are two basic types of binding, straight grain binding (which includes cross-grain binding) and bias binding. Straight grain binding is binding that is cut in strips along the grain of a piece of fabric parallel to the selvage. Crossgrain binding is also cut in strips along the grain but it is cut from selvage to selvage. Bias binding is binding that is cut at a 45-degree angle from the selvage.
Straight Grain and Cross Grain Binding
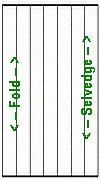
Deciding which method to use and the width of the binding is really a matter of preference – the quilts preference, that is! Straight grain binding that is cut along the length of the fabric is very stable and has almost no “give”. If the border of your quilt is pieced, or cut on the bias, it may need the stability of straight grain binding. To make straight grain binding, cut your fabric every 2 ½” parallel from the selvage. Miter the seams when joining the strips and press the seam open to help keep bulk down. One yard of fabric will yield about 576″ of 2 ½” wide binding. (To determine the amount of binding you need for other size quilts or binding widths, here is a chart for calculating binding requirements.)
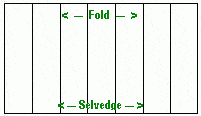
Cross-grain binding has a little more flexibility. If your borders are cut on the straight of grain, cross-grain binding is a good choice. It is probably the most common type of binding used as it is both easy to make and economical use of fabric. To make cross-grain binding, cut your fabric every 2 ½” perpendicular to the selvage. Miter the seams when joining the strips and press the seam open to help keep bulk down. One yard of fabric will yield about 560″ of 2 ½” wide binding.
Bias Binding
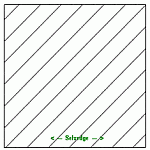
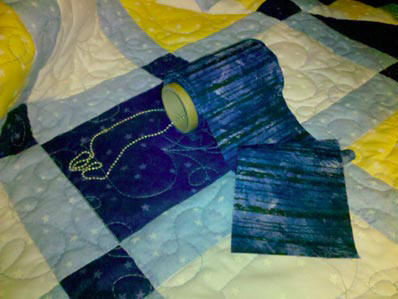
Bias binding is a traditional binding. The same threads in the binding fabric aren’t always on the outside, so it’s thought that bias binding lasts longer. It’s also a great binding for quilts with curved edges. To make bias binding, cut your fabric every 2 ½” on a 45-degree angle from the selvage. Miter the seams when joining the strips and press the seam open to help keep bulk down. Cutting bias binding from striped fabric will give you a diagonal design on your binding. One yard of fabric will yield about 520″ of 2 ½” wide bias binding.
How to Attach Binding
To prepare your binding for sewing it on the quilt, fold it in half wrong sides together but do not press. You will need to be able to roll the fold a tiny bit. Some quilters prefer to sew their binding on the top through the batting and backing first and then cut the edge even. Some prefer to square up the quilt first and sew the binding on the cut edge. Use the method that is most comfortable for you. Use a walking foot if you have one to keep all the layers together as you sew.
Sew the binding on the edge of the quilt top with a 1/4″ seam allowance. Leave a 10″ tail of binding before you start sewing so you can join the binding strip ends when you are done. To make a mitered corner, sew to 1/4″ away from the corner, stop and take a couple of backstitches. Take the quilt out of the sewing machine and fold the binding up at a 45-degree angle (Figure 1) then back down again so you can start sewing along the next side. (Figure 2)
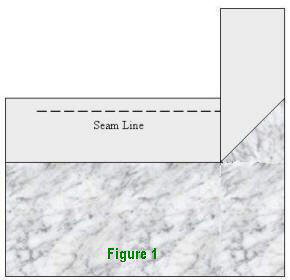
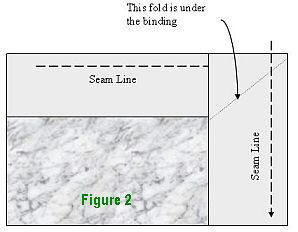
Continue all the way around the quilt, stopping 12″ from your starting point. This will give you enough room to join the two ends with a mitered seam. Once you have joined the two binding ends, continue attaching the binding. Here is a detailed tutorial with pictures.
If you have not yet cut off the backing and batting even with the quilt top and binding, do so now leaving a 1/4″ seam allowance. Press the seam between the binding and the quilt top from the front. This will help you obtain a more even binding when you fold it over the edge. Secure the folded binding to the back using binding hem clips, patchwork pins, or water-soluble glue. Be careful not to distort the binding with the fastening method you chose. Sew the binding to the back of the quilt by hand or with a blind hem stitch. Take an extra stitch or two in the corners to secure the miter.
You are done! Next, read our article on how to make a quilt label. Oh, and here is a clever idea for how to keep binding straight when you attach it:
