*This post MAY contain affiliate links. That means that if you make a purchase after clicking on a link I may earn a small commission at no extra cost to you. I don’t ever recommend something that I don’t use myself. Not all links are affiliate links. For more information, see our Privacy Policy.
How to Read a Quilt Pattern
Understanding quilt patterns can be very important to the success of your quilt project. Here are some tips on how to read the pattern and navigate the steps it suggests.
This might seem like a straightforward idea, but there are so many different types of quilt patterns found in so many different places that it is not as easy as it sounds.
Some patterns, such as those found in books and magazines, are broken up with parts of the pattern in different places. For example, a book might group all the pictures in one place but the actual directions in another. If there are any special techniques used in the pattern, they might be found in another centralized place.
Magazines do the same thing, often beginning the pattern on one page and continuing it in the back. Graphics in a magazine tend to be a bit condensed, too.
Free patterns provided by manufacturers are often VERY condensed, without detailed instructions and condensed or nonexistent graphics. Beware of these patterns. Like the little girl with the curl in the middle of her forehead, sometimes they are very, very good, and sometimes they are horrid. Don’t automatically assume they are accurate.
Read the Pattern all the way through first!
Patterns found in a quilt shop or on a designer’s site can also be anywhere from very good to very bad. The only way to know is to open the bag and read through the pattern. ALWAYS do that with any pattern you plan to make. You will better understand the cutting directions on page 1 if you see an unusual block construction on page 5.
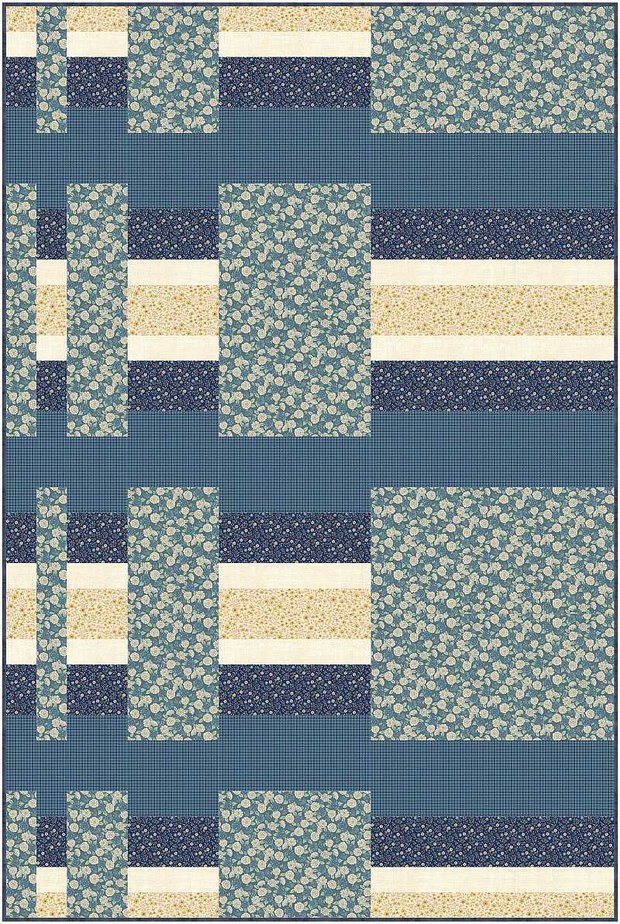
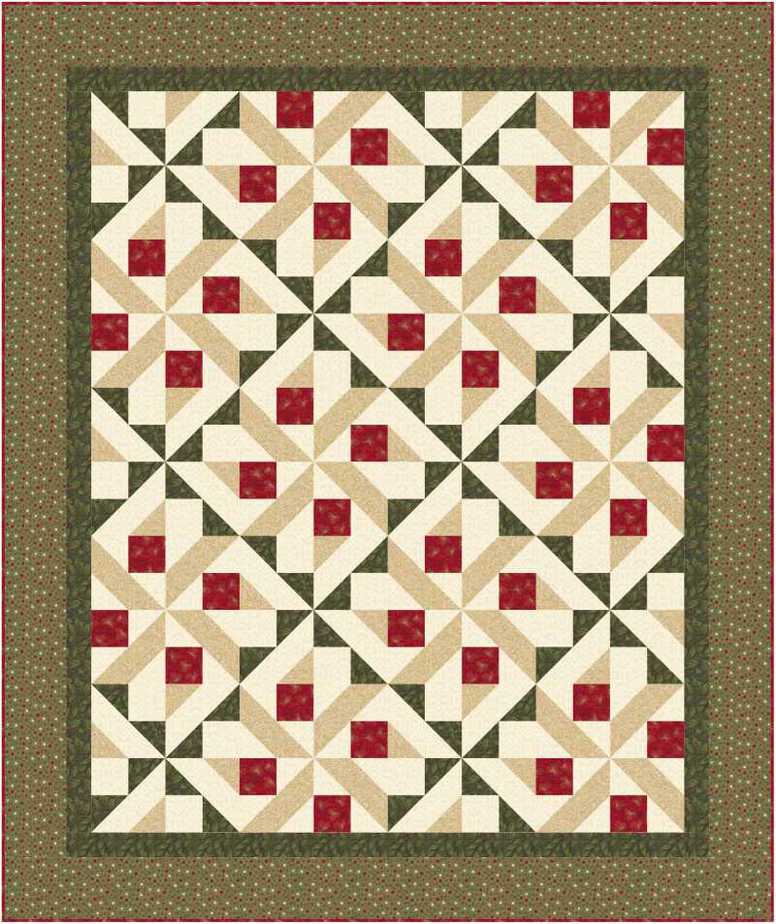
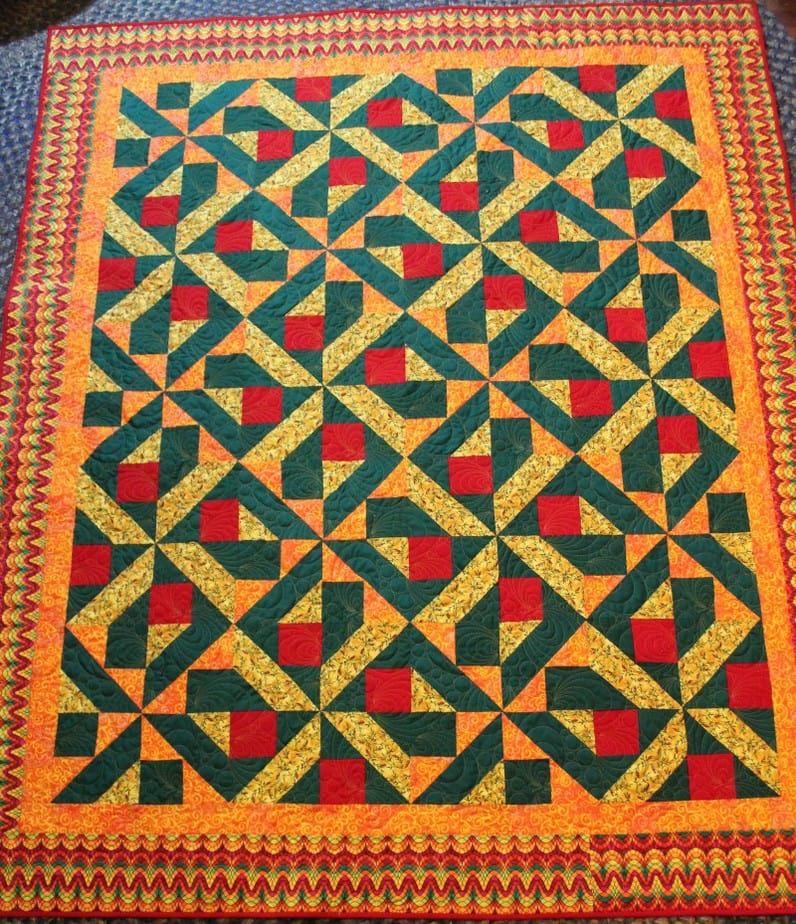
A professionally created pattern will have a picture of the actual quilt, not just a graphic. Some graphics are really good. It can be hard to tell! It’s the only way you can know for sure that the quilt has been made. However, that doesn’t really mean that the directions are accurate. Some designers make the quilt first and write the directions later, which is how tiny errors creep in. This can cause a lot of frustration for the person trying to make the quilt. (Phoebe’s Note: yes, I know our patterns often have a graphic for a picture. That’s because I am a lousy photographer, a subject for a future article.)
The Pattern Cover
The outside of the pattern should also give the title, size(s) of the quilt, and a little description, including color and/or fabric style suggestions. Can you only make it using a particular line of fabric and/or panel? Does the designer have a website or blog where you might see other versions of this quilt?

A detailed list of fabric requirements and supplies should be given on the outside of the pattern. If a pattern uses precut fabric, that should be stated, along with the definition of that particular precut. The fabric requirements should clearly indicate what fabrics are required for which part of the pattern. Some patterns will just give a generic total, while others will precisely state which fabric is to be used in which block. If you are making a scrap quilt, the generic total is fine but if you are purchasing fabric for a specific quilt design, you need to know what to buy.
The pattern cover should also state the relative ease of the pattern and any special techniques needed, such as paper piecing or applique. If a special ruler is needed, that should be noted as well.
The back of the pattern

Other indications of a professionally written pattern are the little things. A pattern number indicates that this isn’t the designer’s only pattern. A bar code indicates that the designer has taken the time to apply for and purchase one for this pattern. A QR code is a high-tech way of offering additional information. Scan it with the QR reader of your smartphone.
One important piece of information on the outside of the quilt pattern should be the Copyright Statement. Good designers spend many, many hours creating their patterns, and have a large financial investment besides both in fabric and the cost of the software they use for creating the pattern. Their copyright will often indicate usage information. For example, can you make something for resale? Are you permitted to enter your quilt in a show? If it is a free pattern provided by a fabric or ruler manufacturer, the copyright may forbid the use of any substitution. Remember that all patterns carry copyright even if it is not expressly declared.
Inside the Pattern
Open the pattern and read through the entire thing. Think of it as a recipe, each step building on the one before. Does the pattern seem to be written in a logical order? Is it well-written, and grammatically correct without a lot of typos? Are you comfortable with the size and style of the typeface? If it is printed on a single large sheet that is folded, can you figure out the sequence? Patterns like this can be very confusing if the steps aren’t numbered.
Is each step explained? If a special ruler is required, do you own that ruler, and do you know how to use it? If not, is there an explanation in the pattern or alternatives given? Sometimes a designer will offer a more detailed explanation and/or a video on their website or blog. Is there room on the pattern for you to make notes?
Are applique pieces full size? Are applique methods suggested and tips given?
Block sizes should be stated with each step, or at least every other step, so the quilter can check their work at each stage.
Clear Abbreviations and Graphics
Are abbreviations defined? An experienced quilter will know these definitions but not all designers define the same terms in the same manner. (In case you are curious, these terms are defined on the Tips and Terms page.)
- WOF
- 1/4″ seam/scant 1/4″ seam
- mirror image/reverse
- sub cut/ cross cut
- unit/template
- QST, HST
- finished/unfinished
Graphics and Illustrations
Look for graphics detailing each step, including pressing directions, but don’t expect to be able to make the quilt from the graphics. Too many graphics can be confusing and often a designer will put more than one step in a graphic to save space. However, any tricky construction method should have a detailed illustration.
Full-color illustrations are usually the best, but not always. Sometimes a grayscale illustration will better show color relationships. When working with a pattern, it is helpful to go through it and cross off their colors and write in yours. Likewise, if the quilt can be made in more than one size, cross off the information for the sizes that do not apply before you start sewing.
Does the pattern include setting layout alternatives, batting and/or quilting suggestions, and binding instructions? You may not need this information, but it can be helpful to new quilters.
If you have any questions about a pattern before or after purchase, contact the designer directly. They should have made the quilt and will be able to accurately answer your question. In addition, it gives them a little constructive criticism. The next time that pattern is printed, they may be able to reword the instructions to make them clearer.
Have another tip to offer? Send it to me or reply below and I will add it here.
Don’t forget to sign up for the newsletter! Once a week, I send updates on quilt-related information I have found while wandering the web. This might be an inspiring article, a tip or tutorial I have discovered (or written), and occasionally exclusive offers & discounts as well as immediate access to the secret page of free patterns, guides, and printables. You can follow my page on Facebook, or join the Make Believe Quilters group, too.