*This post MAY contain affiliate links. That means that if you make a purchase after clicking on a link I may earn a small commission at no extra cost to you. I don’t ever recommend something that I don’t use myself. Not all links are affiliate links. For more information, see our Privacy Policy.
How to Add a Border to a Quilt
Part Two
Part One is here
Adding a straight or a pieced border
To make sure your quilt lies flat, you must measure your border strips before sewing them on the sides of your quilt top. Don’t just sew on a border and cut it off when you get to the end. That is a recipe for wavy borders.
Whenever possible, use the lengthwise grain (parallel to the selvage) when cutting fabric for border strips as it doesn’t stretch as easily as the crosswise grain. If you do need to use the crosswise grain, consider using spray sizing to help prevent stretching.
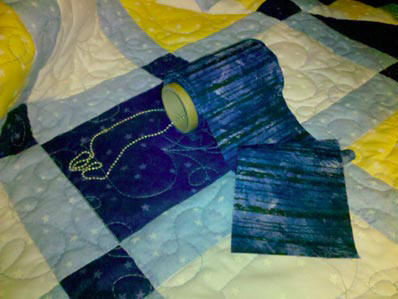
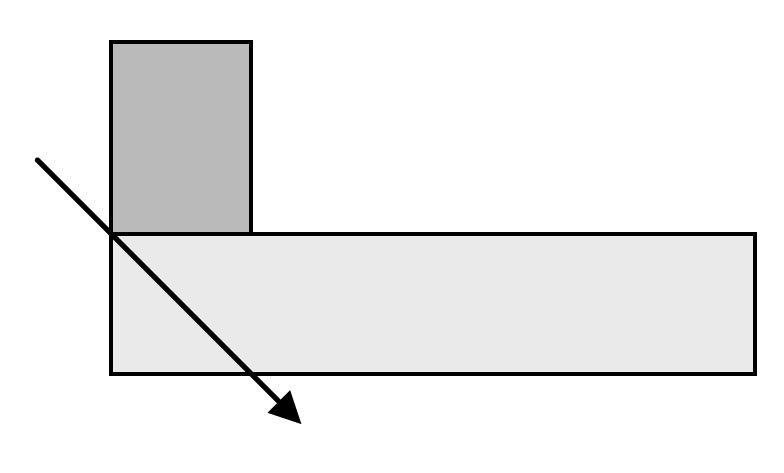
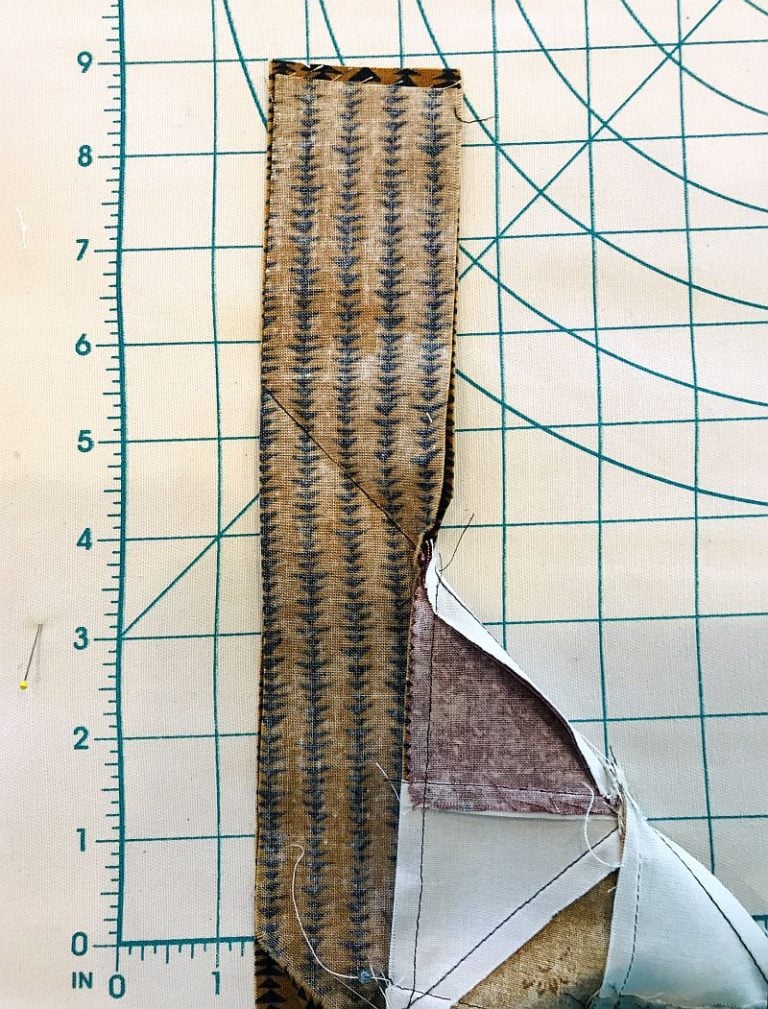
If it is necessary to seam the strips to make them long enough, consider mitering that seam to make it less visible. Sew these strips end to end, mitering the joins if you prefer by sewing the two strips right sides together at an angle as shown below. Trim the seams to 1/4″ and press open. Here is a video.
Step One: Measure your quilt through the middle horizontally. Cut two borders to this length and sew them to both sides of the quilt, matching the center of the quilt top with the center of the border. Forcing your quilt top to match two identically cut strips will force it to be flat.
When sewing long strips of fabric together, always use a walking foot if you have one. That’s because the feed dogs of your machine tend to pull the bottom layer of fabric just slightly faster than the top layer. By the time you get to the end of a long seam, the two strips no longer match up.
If you don’t have a walking foot, pin the strips in the middle and at both ends. Gently guide the fabric through the machine, encouraging the two strips to meet at the pin. Always remove the pin just before sewing over it so your needle doesn’t hit it.
Press to the border and measure again through the center.
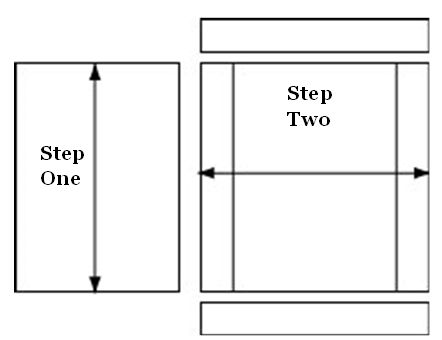
Step Two: Cut two borders to the measurement you just took and sew them to the top and bottom of your quilt top, again matching the center of the border strip with the center of the quilt top. Press to the border. Here is a video.
If you are adding a pieced border, you first need to determine how many blocks you will need for all four borders. Measure the length and width of your quilt through the center as you did for the straight border. Divide this number by the size of the quilt blocks you will be using. If the number comes out even, you know how many blocks to make. If not, you may have to add an additional element such as a coping strip or half a block to make it come out even. I did this in Summer Storm when I added a center strip to make the border longer.

Follow Steps One and Two above to add the borders.
Adding a Mitered Border
To add a mitered border, you sew a precisely measured border onto all four sides of the quilt, stopping 1/4″ from the end of the quilt top, but leaving extra fabric on the end of both sides. That is the fabric that you will use to create the miter.
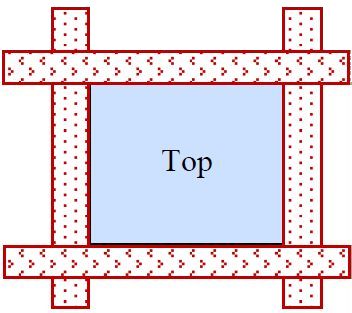
To figure that length, you would add the width of the top, plus the width of both borders and 4-1/2″. For example, if your quilt top is 73-1/2″ × 61-1/2″, and the border you are adding is 3″, you would need a border 84″ long for the side border and 72″ for the top and bottom border.
Mark the center point of both the border and the quilt top. Pin a border to one side of the top, matching those center points. Sew the border to the quilt top, stopping 1/4″ before you get to the end of the quilt top. Repeat for the other side, and for the top and bottom sides. Your quilt top is going to look a little funny, but that’s okay.
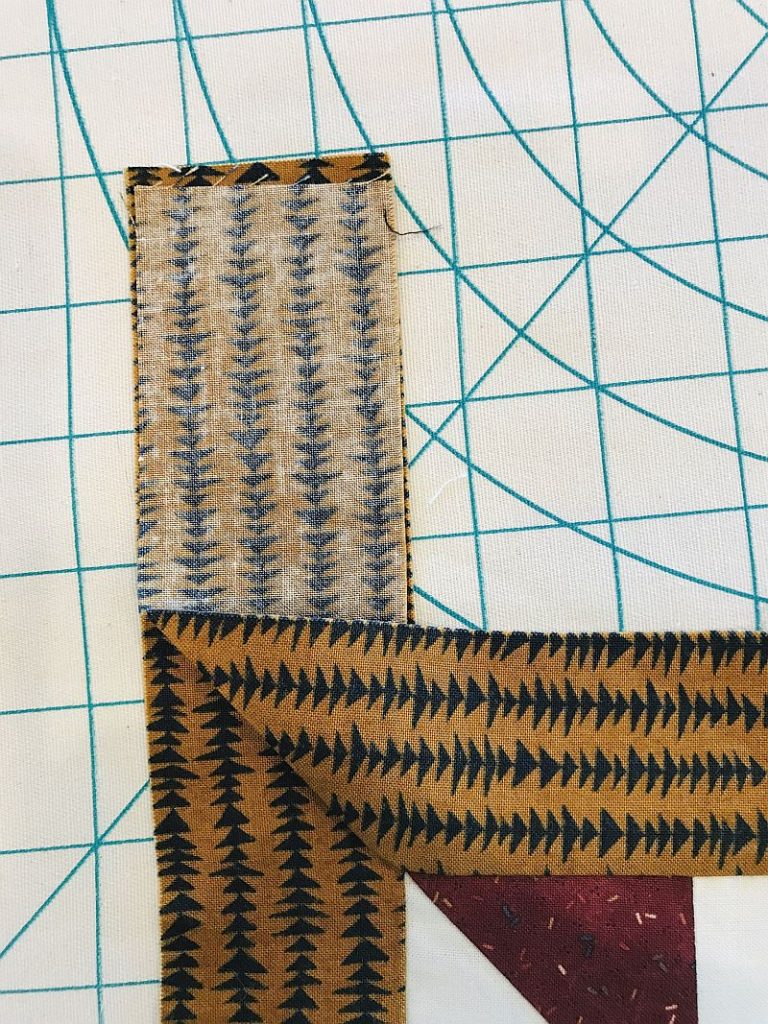
Repeat this process for the top and bottom sides. To sew the mitered corner, it’s easiest to take the top to your ironing board and fold the edge of one border on top of the other at an exact 45-degree angle. One strip will completely cover the other. Work with it until you like the appearance of the miter and the corner lies flat. Press that fold. Carefully unfold the top without disturbing the two borders that are now right sides together and pin along that pressed fold line.
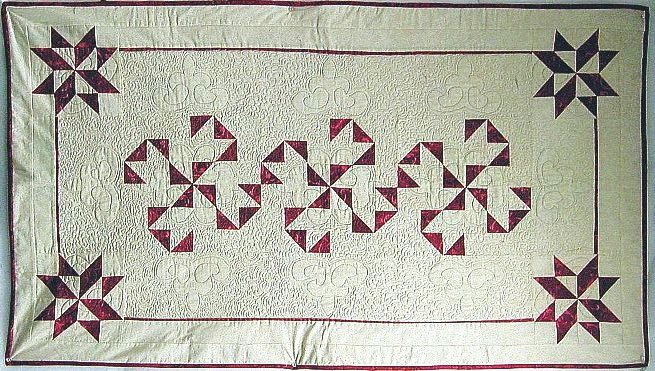
Round The Mountain mystery
Take the top to your machine and sew along the pressed fold line from the outside into the middle where you stopped sewing 1/4″ away from the edge of the top. Press and double-check to make sure the corner lies flat. If so, trim 1/4″ away from this seam. It’s a bit tricky, but if you are careful and use lots of pins, you can get a perfect border that lies completely flat on the first try. Repeat this three more times and you will have successfully added a mitered border to your quilt.
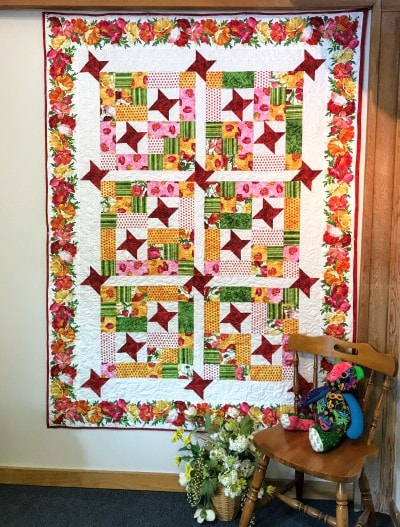
A technique sheet is available to subscribers at the bottom of this page.
Adding a three-dimensional border as an accent
To add an accent to your borders, or to separate two similar borders, you can insert piping or a tiny, three-dimensional border called a flange. This is a 1″ wide accent strip of fabric. Fold that in half wrong sides together and press. Cut two pieces to the same length as the center width of the quilt top and stay stitch it 1/8″ from the edge of the top and the bottom of the quilt top. Do the same thing to the sides, using the center length measurement. Overlap it at the corners.
Once it is firmly in place, you can use those same measurements for the outer borders. Because the flange is actually inserted into the seam between the two borders, it does not make the quilt bigger. It’s just a little accent piece to draw your eye. Here is a video that explains the process.
Prairie Points
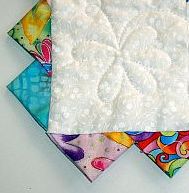
Other elements such as prairie points can also be inserted into the seams between two borders (or between the border and the binding) to add an accent. Topstitch the seam to encourage these elements to lie flat. Here is more information about Making and Using Prairie Points.
Here is more information on choosing a border for your quilt.
Have another tip to offer? Send it to me or reply below and I will add it here.
Don’t forget to sign up for the newsletter! Once a week, I send updates on quilt-related information I have found while wandering the web. This might be an inspiring article, a tip or tutorial I have discovered (or written), and occasionally exclusive offers & discounts as well as immediate access to the secret page of free patterns, guides, and printables. You can follow my page on Facebook, or join the Make Believe Quilters group, too.
