*This post MAY contain affiliate links. That means that if you make a purchase after clicking on a link I may earn a small commission at no extra cost to you. I don’t ever recommend something that I don’t use myself. Not all links are affiliate links. For more information, see our Privacy Policy.
Machine Quilting Basics
Machine quilting your top is a time-honored tradition that goes back to the days of the treadle. Sewing machines were expensive – if you had one, you made sure to show it off. You might handpiece the quilt top since the stitches didn’t show, but machine-quilt the top where the stitches DID show.
Today we are more likely to machine quilt a top to both save time and allow for creative expression. Machine quilting is not difficult but it does take some practice. You don’t need to buy a fancy sewing machine to machine quilt. All machines will work, although some are easier to use than others. The larger the opening between the needle and the side of the machine, the easier it will be to machine quilt large quilts. This is a good thing, actually. It gives the machine motor time to cool while you are adjusting the quilt.
There are two types of machine quilting:
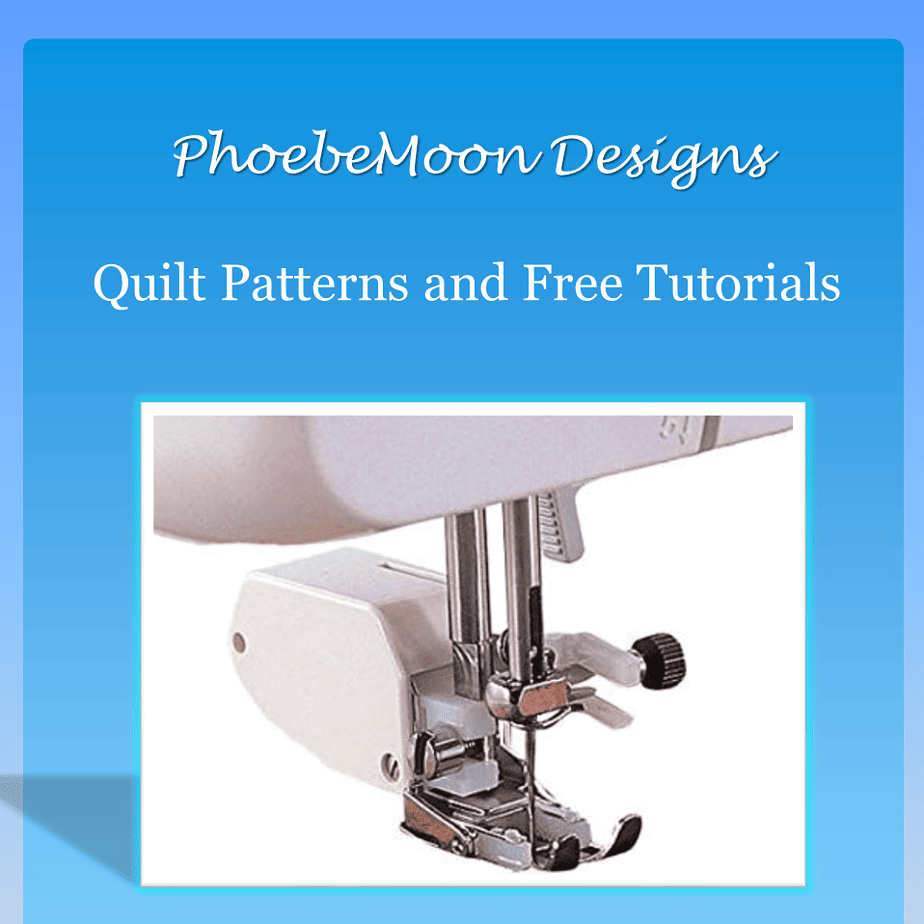
- Machine guided (using the feed dogs) Machine guided quilting is used for straight and slightly curved lines. Use a walking foot and stitch approximately 12 stitches to the inch.
- Free motion (feed dogs dropped or covered). Free motion quilting generally doesn’t follow straight lines. Hand-guided, it might be used for stippling or patterns such as feathered wreaths. Use a darner foot and a straight stitch needle plate on the machine (an index card will work in a pinch) to prevent the quilt from being pulled into the throat plate slot and puckering. Practice by following a line both up and down and sideways. Remember, you don’t rotate the quilt or pivot in any way. Your hands move the part of the quilt sandwich you are quilting to the needle.
Helpful hints:
- Basting your three layers together securely will help you avoid puckers on the back. Do this using spray basting, pins, tack guns, or simply by hand basting using large stitches radiating from the center. Water soluble thread is practical for basting, too. After you have finished quilting, just wash and your basting stitches dissolve away. Don’t skimp on this step.
- Do not STRETCH the backing. Lay it out flat, pull out wrinkles, and let it relax for several hours. Just lay it flat and smooth – not tight.
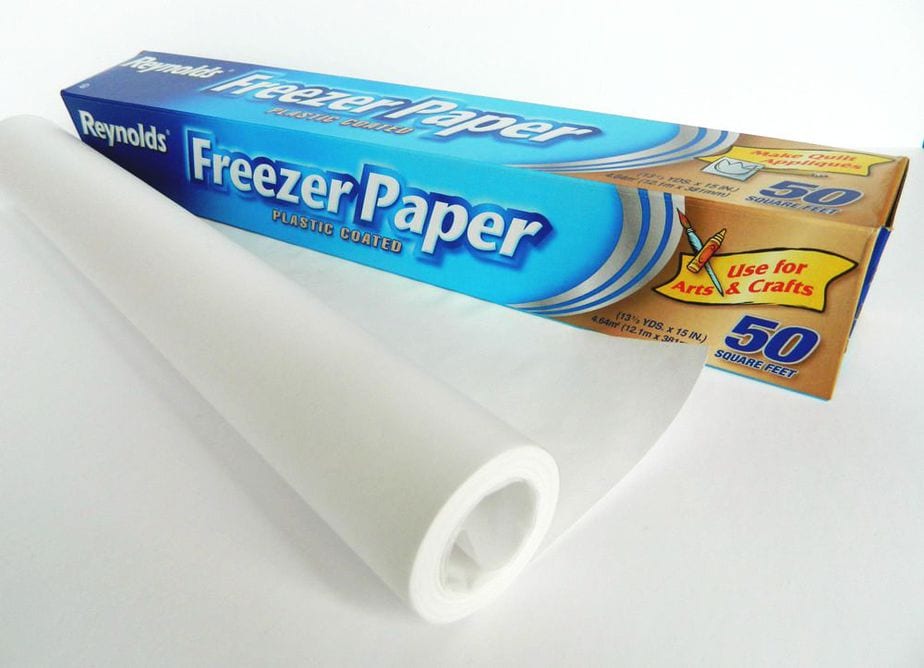
- To mark your quilting design, you can use a stencil and an air or water-soluble pen or chalk marking pencil. Or you can mark your design on paper or Press N Seal and sew right through it.
- It’s important that your quilt be supported as you work on it. To keep the weight of the quilt from pulling your stitches out of whack, use a bed extension or a table next to your sewing machine. Plan your stitching so that the majority of the quilt is always on that support.
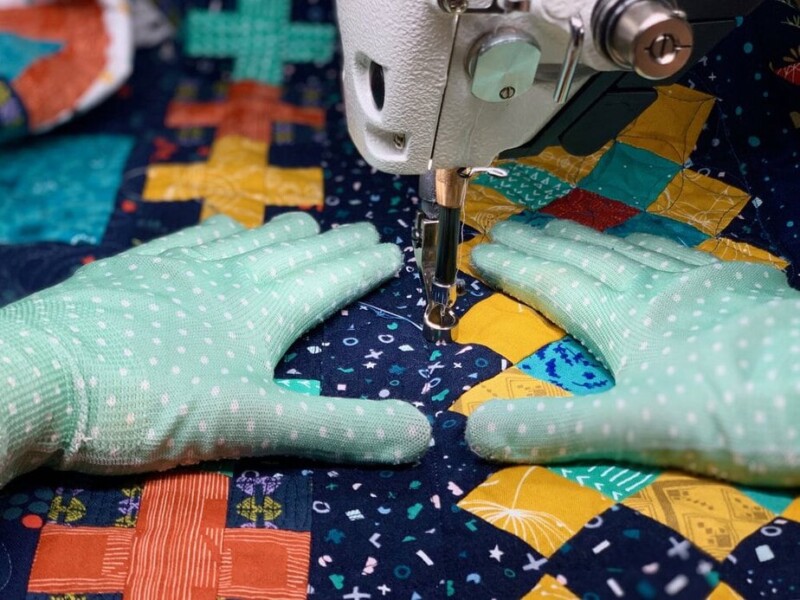
- Keep in mind that you are controlling the quilting. Keep your hands firmly on both sides of the quilt as you guide it through the needle. If you are free motion quilting, remember you can quilt sideways and backward if you need to. Watch the fabric as you are stitching, not the needle. Use your hands in a triangular position to spread open the area you are stitching. This will help to pull out any fullness on the back.
- Keep your speed slow and even. It helps to keep your bed slippery with wax or the Free Motion slider. This is a Teflon sheet that you tape to the bed of your sewing machine to make drag disappear.
Needle and Thread Tips
- Start each project with a new needle and be prepared to replace it. There are four types of Sewing Machine needles: Embroidery; Metallic; Quilting and Universal. Click here for more information on those needles. Keep in mind that the size of the needle often depends on the size of the bat. 90/14 might be good for heavier bats, whereas 75/11 is good for lighter bats. This is a matter of personal preference. Experiment a little to see what works best for you. If you are using specialty threads, use needles designed for those threads and be prepared to adjust your tension.
- We recommend that you a high-quality 100% long-staple cotton thread in both the top and a 60 wt bobbin thread for quilts that will see daily use. Save the specialty threads for wallhangings and never use invisible thread (monofilament nylon) on quilts meant for use by babies as it can present a choking hazard.
- If you are having problems, experiment with the top tension. It may need to be loosened a bit, especially if you are using invisible thread.
- This page has 5 Tips for beginning free motion quilting, including videos.
- Here is a great blog for ideas and tutorials: 365 Days of Free Motion Quilting
Helpful Videos:
