*This post MAY contain affiliate links. That means that if you make a purchase after clicking on a link I may earn a small commission at no extra cost to you. I don’t ever recommend something that I don’t use myself. Not all links are affiliate links. For more information, see our Privacy Policy.
Organize Your Quilting and Sewing Space
Organizing quilting and sewing space: If you have lived with the chaos for years and no longer find it inspiring, it’s time to DO something about it. It doesn’t have to be a daunting, overwhelming task. Break it down into small pieces and do it a bit at a time.
Start by defining the area you want to organize. Is your sewing area an actual room, or just a corner of the dining table? Either way, you need to define it, label it (if only in your head) and set priorities for its use. For example, if your sewing area is also a guest bedroom, make a decision: which one is more important to you? There is no reason a space in your home can’t have multiple uses, but you do need to clarify which use is the primary one.
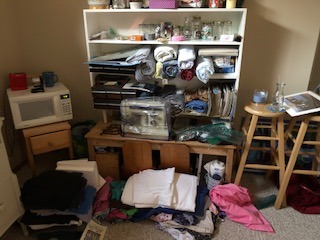
If you can, take everything out of the room. It doesn’t matter if another room fills up, it won’t be for long. Take the time to freshen everything – paint the walls, wash the carpets, clean the windows. No, it’s not necessary, but it does make you feel better! And it will help you make decisions in the next step, which is putting it back together.
As you move stuff out of the room, try to group like items together. You may discover that you have three sets of sheets for a bed that is used once a year. Or perhaps you will find that you actually have two blenders. You may find that missing rotary cutter or discover that you have three 6″ x 24″ rulers and six spools of blue thread. Keep all similar items together as much as you can. It will help you decide what to keep because the next step is going to be purging.
Donate anything you haven’t used in a year or more to charity. Donate is the keyword here. If you try to sell it, you will want to keep it the instant someone calls. Yes, I know, you might need that second blender someday if the first one breaks down. Donate it anyway. Think of it as giving someone else the chance to enjoy and appreciate your blender. But read through the organizational tips below before getting rid of anything you might use for organizing your new space.
Starting with a clean slate
Now you have an empty, fresh, and clean space ready to be filled with items you consider important. It’s a blank canvas on which you can paint your organization scheme. Like any artistic creation, you need to pencil in the bones before you can flesh out the subject. Based on the primary use of your area, start putting furniture back in the order of its importance.
If your room is primarily a dining room, the table goes back first, then the hutch – but not necessarily the items IN the hutch.
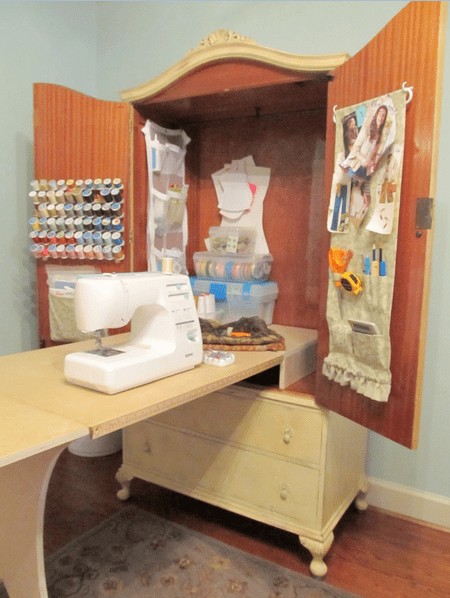
If your primary room is a guest room, perhaps you can use an old armoire as sewing storage. The sewing machine can rest in the top section, while the inside and the back of the doors can have storage solutions for supplies – a peg hook, perhaps, or a thread rack.
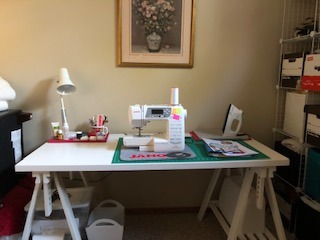
If you are really organized, you might be able to fit in a drop down table with folding legs. The picture is from Cottage Hill – click here to see how she did it.
If your room is primarily a family room, the big pieces might be the couch and the TV set. (OK, you probably didn’t take them out, to begin with.) Now draw a diagram of where you want the rest of the pieces to go. Lazy Boy has a great free room design planner.
If it doesn’t all fit, you may need to use some items in other rooms. Or perhaps you can downsize a bit. Can you trade that big couch for a love seat, maybe? Maybe you could use an interesting trunk as both a storage check and a coffee table. Check with the Salvation Army, people donate the neatest things:-))
If the primary use of your sewing room is sewing, do the layout before putting any items in your room. Everything that goes in that room should have a purpose and more than one use. Think about every item in that room. For example, white flannel (or fleece) curtains can also serve as a design wall.
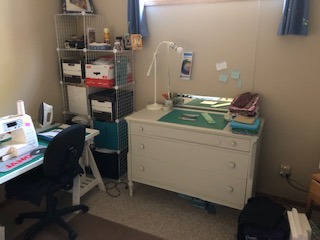
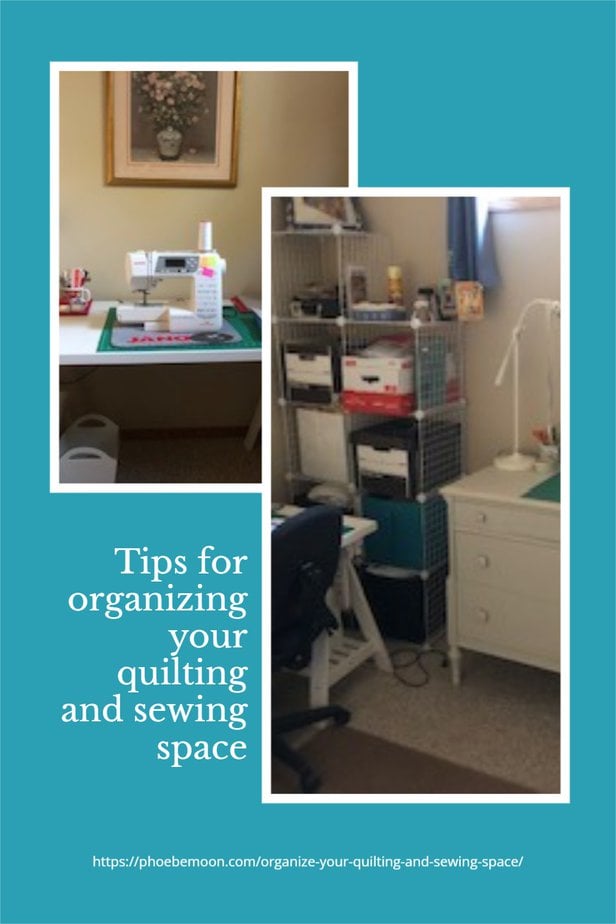
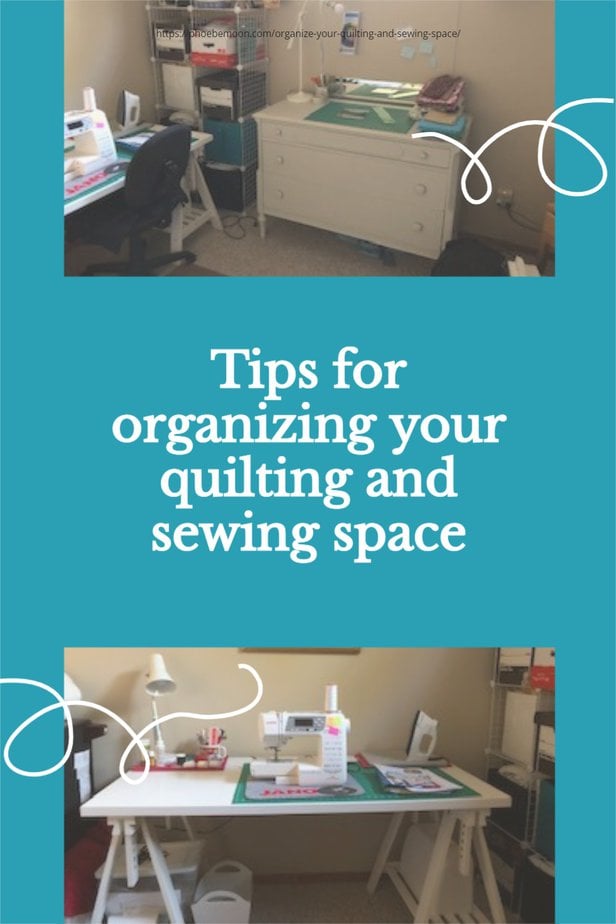
If you were sitting at your machine in a dark corner before, maybe you could move it to face the window. If you don’t have a cabinet, consider using a long, narrow table with your machine off to the right. You will be able to machine quilt a little easier, and the space underneath can be used for rolling storage bins or a file cabinet. Plus that empty space can double as a cutting table if you don’t have a separate one.
Use adhesive Velcro strips to secure dangling cords to the underside of the table. If you are sharing the room, maybe someone handy can attach this table to the wall using a piano hinge and folding legs or collapsible brackets. That way it can fold out of the way when not in use.
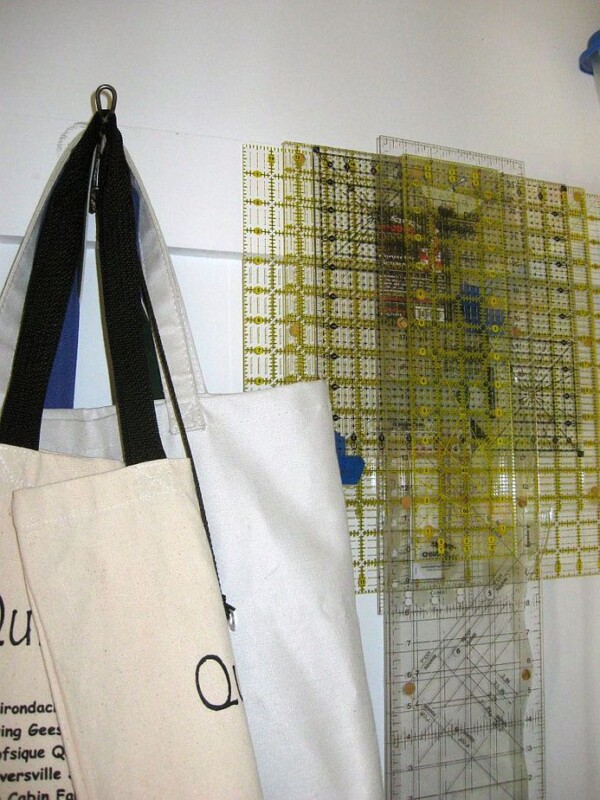
Can you hang a light from the wall or ceiling over this work station? Maybe this would be a good place for a battery operated OTT light. If you have to use an extension cord, try to use the smallest one possible, or a retractable one, to minimize the trip hazard.
Consider plugging the iron into the same switched outlet that controls the lights. You will never forget to turn it off when you go to bed at night. Why not plug the iron into a Smart Plug? That way, all you have to say is, “Alexa, turn off the iron” and she will!
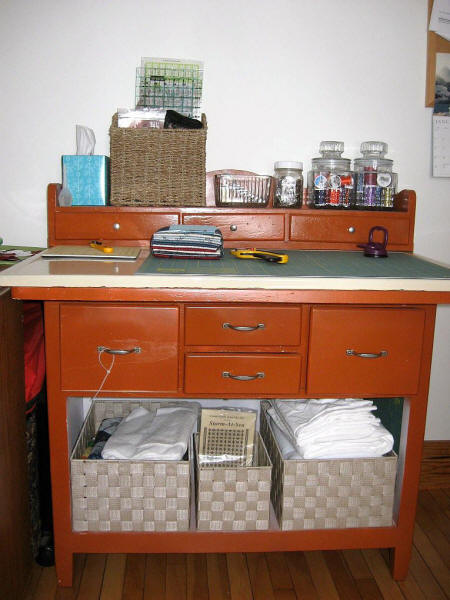
Where will you put the cutting table so you can walk around it? Would a smaller cutting table work better? A rolling kitchen island cart with a butcher block top would make a good portable cutting table, as well as a place to store items.
Don’t forget about the back of the cabinet door – it’s a great place for a pegboard and S hooks. Attaching a metal utensil rack (like you use in the kitchen for hanging spoons) will give you a place to hang rulers and rotary cutters.
Organizing quilting and sewing space
Think about fabric storage. Can you put clear boxes or bins under your cutting table? If you use bed risers under the legs of the table, it will make cutting easier and give you more space for storage. Label everything on the top and at least two sides so you don’t have to pull out bin after bin looking for one thing. Your cutting mats should be stored flat – would they fit on top of the bins?
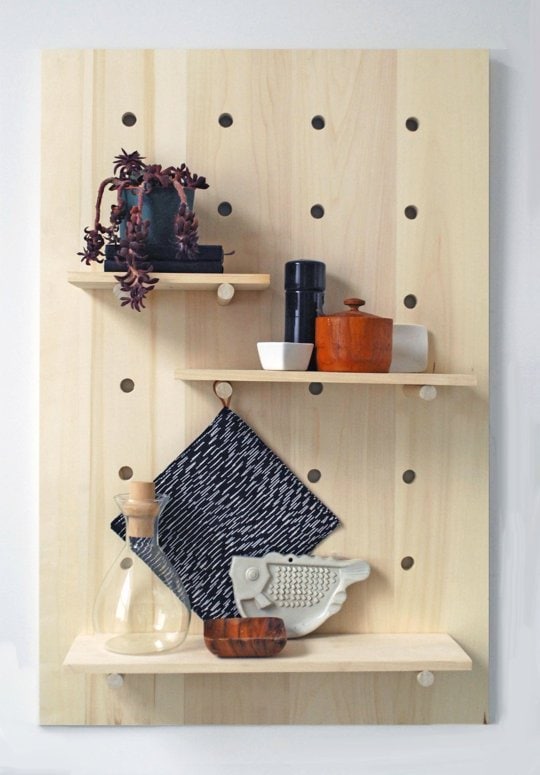
If possible, hang a corkboard near your sewing area. This can be removable if you are in a shared area like a dining room or a really small area like an RV. Use it for pinning test blocks, patterns, ideas, and reminders. Pencils can be laid across two push-pins strategically placed.
For a sturdier solution, stretch fabric around a piece of Homasote from the home supply store and staple it in the back. (Or use leftover wallpaper.) Here is a pegboard system with a tutorial from Apartment Therapy.
Don’t forget about the ceiling. If you have a suspended ceiling, you can buy plant hooks that hang from the cross braces. Lightweight items such as stencils or templates can hang from these.
Old-style metal shower curtain rings can hold together your quilting stencils. The small hangers that come with socks are great for hanging strips or binding and could easily hang on this ring as well.
Can you hang a shelf on the wall above the windows for seldom-used large items? Use it for PIGS (projects in grocery sacks), extra batting, those rarely used specialty rulers, your sewing machine manual, button jars, a dish rack, etc. The dishrack can hold little-used patterns, ribbon reels, Pigma pens, and so on. Use the silverware holder from an old dishwasher to hold small rulers, markers, pens and pencils, small scissors, rotary cutters, etc. Keep it near your cutting area, hanging out of the way if possible.
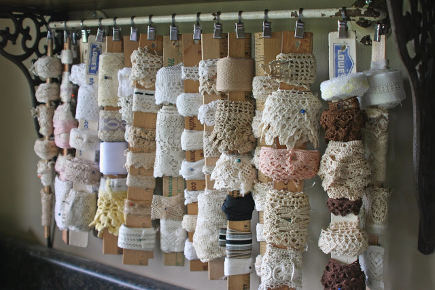
If your shelves have brackets, maybe you could connect a pole between the brackets to hang organizational elements as shown in the picture to the left from Attic Magazine.
How about a hanging magazine rack or wall file folder for rulers? You could use a back-of-the-door type shoe organizer (or jewelry hanging bag) to help store threads, scissors, pencils, rotary cutter blades – anything you don’t want the cat to play with.
Save the back of the door for two wreath holders. Place a dowel between them to hold fabric, tops, or any WIPs. (works in progress)
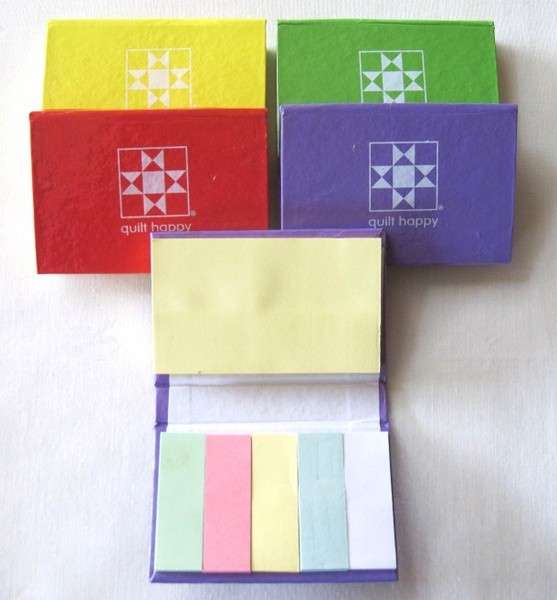
You can put your magazines on these shelves, too. Buy a pretty box from a craft store (or paint one yourself) to hold your magazines. Empty detergent boxes work well, too, because they are sturdy, easy to cover, and usually have handles.
As you go through your magazine, put a mini post-it note or address label on the page with an interesting project. File the magazine so the note shows. It will help you find the project later.
If there are no notes, don’t save the magazine. Give it to a quilting buddy or recycle it. If space is tight, you can tear out the pattern or idea, put it in a page protector, and save it in a three-ring binder.
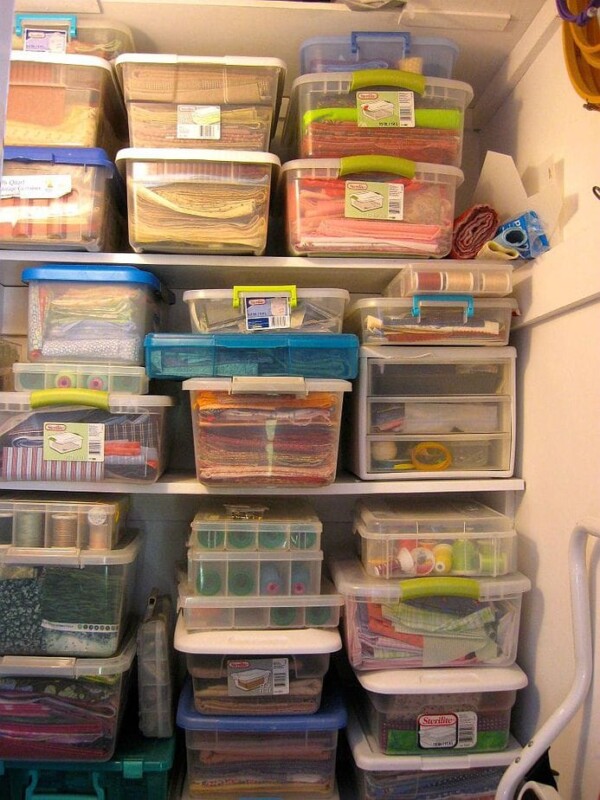
Can you commandeer a closet? A custom closet solution will go a long way to solving storage woes. Fabric can be stored in any number of ways. The easiest is probably to put it in clear plastic bins, sorted by color, value, size, or amount. Store those bins where you can see them!
A portable tackle tote has zipper compartments to hold small items and has the advantage of being able to fold up neatly so you can take it to class. It’s a great place to permanently keep items you will need for classes or retreats.
Another useful item is a canvas storage container that collapses when empty. If you need ready access to the items in the closet, use curtains instead of doors.
If your space is really small, you can always put a sewing room in an empty double closet. Measure the depth of the closet, then buy a lauan door that wide. Place it on top of two filing cabinets or short bookcases inside the closet and add shelves above and pegboard along the back for an instant, if mini, sewing room.
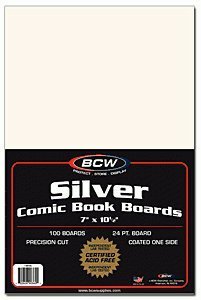
If you would like your fabric on display consider making mini bolts. Just fold your yardage in half lengthwise (selvage to selvage), then in half again. It should measure 10 or 11 inches. Wrap this yardage around your widest ruler, secure it with pins, then slip the ruler out. Stack on shelves or in a bookcase so you can see them. If you would prefer a studier wrap, you could ask your local quilt shop for their bolt ends which you could cut down, or use commercial acid-free cardboard like a Comic Book Board.
If you need to store fabric in a small space like an RV, consider hanging yardage on a multiple pants hanger. They will be in your closet and out of the way until you need them. Tabletop shoe organizers and CD organizers are the perfect sizes for fat quarter storage. Just fold them up and secure them with a ponytail holder.
Small bits of fabric can be saved in organizers sorted by size or color but before saving anything, ask yourself, “Will I use this again?” Small scraps can be used as leaders and enders. If you get enough, you can make a lovely quilt, but will you? You know yourself best – if you know that you will never use a piece of fabric smaller than a certain size, toss it! Yes, you can always save it for that one person in the guild who will stuff dog beds for the animal shelter with them but if you don’t know that person, find a handy trash can and make friends with it. You want your sewing space to be a place of joy and relaxation, not a place of unfulfilled promises.
Determine a place for everything. Put everything away where it belongs and put it back when you are done with it. If you find that you are leaving certain items out all the time, change their storage area so they are more readily accessible. Or put a pretty basket by your sewing machine and keep frequently used items in it.
Tips from the Facebook Group
Store the cord for your iron in a toilet paper tube when you are putting it away. No more wrapping it around the iron just to watch it fall off again!
If you have more than one sewing machine, purchase a pencil box for each one to keep your specialty feet and bobbins for each particular machine separate.
Tie a pretty ribbon around a pair of snips and attach them to your ironing board. That way you can snip stray threads when you are pressing your blocks. This works for the sewing machine area, too.
Use cut straws or golf tees to keep your spool of them and matching bobbin together.
Pedicure forms are a fun way to store bobbins. You can easily see the colors, and it looks kinda cool.
Tape a measuring tape to the front edge of your sewing table so you can easily measure your quilt blocks while you are working on them.
Store your stabilizer rolls in an old table wine rack. Have fun emptying it!
Organize your rotary cutters on a four peg cup stand. Full-size scissors and cutters can go on the upper pegs and smaller ones can go on the lower pegs.
Baby wipe containers hold a lot of spools of thread. You could also use them for plastic grocery bags, or to collect snippets.
Place a suction cup soap holder on the side of your sewing machine. It can keep small items like your seam ripper, clippers, extra bobbins, etc. right at hand.
Tic-Tac candy boxes and Altoid tins make great boxes to put old pins and needles in. When full just snap the lid closed and toss.
Holly uses the plastic bins that gum squares come in as they are big enough for rotary blades, pins, needles, etc. They hold a ton before needing to be thrown out. Also, they have a large opening at the top, a smaller side one or you can take the whole top off. She gives them out at all gatherings.
New, unused pizza boxes make great project boxes. They store flat but can be folded to hold an entire quilts worth of strips or blocks. Keep the project together by putting the pattern, any needed rulers, thread, or other items in the box. Shirley suggested that they make good carriers for cupcakes, too.
Michele uses 12×12 plastic scrapbook storage containers and says they work great!
If you need to store fabric in a small space like an RV, consider hanging yardage on a multiple pants hanger. They will be in your closet and out of the way until you need them. You could also keep track of your UFO’s that way, too. Just keep everything together on one hanger.
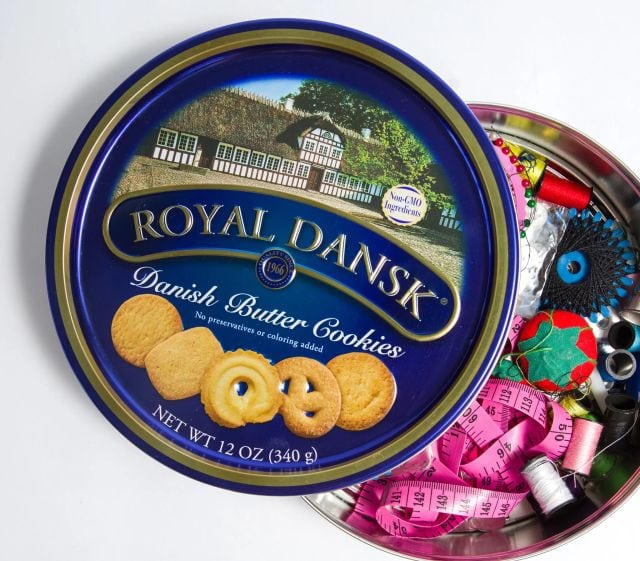
Store small projects in decorative tins or hatboxes. They blend with your decor as well as serve for extra storage!
M&M Mini tubes are great for storing needles, buttons, and bobbins.
A flannel back tablecloth can serve as both a design wall and as storage for quilts in progress that need to be put away temporarily. Sew a rod pocket casing at one end and insert a dowel to add weight so you can drape the design wall over a bookcase or hang it on two 5lb 3M command strip adhesive wall hooks. When you are done placing your quilt pieces, just roll it up and stand it in the corner out of the way.
The heavy, zippered vinyl bags that pillows, drapes, bedspreads, and other linens come in are great for sorting projects – keep the pattern, fabrics, and thread together in one place until you are ready to begin. If you like to work on several projects at a time – or perhaps, are working on a block of the month – this is a great way to keep them separate so you don’t lose pieces. You can purchase Ziploc Big Bags on Amazon.
Michele likes the pretty decorative boxes from the craft store (instead of zip bags) to keep mystery quilt steps separate.
Brenda keeps the plastic containers that Chinese food comes in to keep her block units separate when similar sizes have to be cut. The fabric can be kept separated and not squished and ready to sew.
Cleary uses the plastic boxes from frozen Bonbon treats to hold 6 1/2 blocks they fit great and the cover holds tight so you can take it with you without it falling open. Also if you use Heat & bond put it in a gallon zip-lock bags stays sticky longer. Also works for washing away stabilizer so it doesn’t get wet.
Empty prescription bottles are great to help you sort bobbins by color. Label them by thread color, and be sure to have one for empty bobbins, too. An empty prescription bottle is also a good place to store old and broken needles, bent pins and thumbtacks, etc. When it is full, just throw it out.
Joyce uses empty prescription bottles to keep her bead supply in.
Teresa keeps Crystal Lite clear plastic containers because “they are big enough to hold small scissors, rotary cutters, thread, etc. You can see everything and you can also set up everything for finishing up a project to go.”
Carol said, “I use an empty Crystal Light liquid drink mix container to put my used needles in. I pull the top off and rinse out. Put the top back on. It has a little silicone cover with a pinhole in it, once the needle is in it doesn’t come out. It is a small 1.67 oz bottle. Hope this tip helps the quilters.”
Use 7-day pill boxes to keep specialty sewing machine needles (quilting, topstitch, universal, metallic, jeans, etc) separate so you can easily find them for reuse in another project. If you have a 14-day organizer, you can use the extra space to hold bobbins, beads, snaps, and other small items that tend to get lost once you take them out of the package.
Linda says she “always shops in the fishing department for small boxes to keep stuff… much cheaper!!”
Shirley suggested that a plastic container in the toy department that holds matchbox cars is also great for the thread. It is 2-sided and holds about 30+ spools.
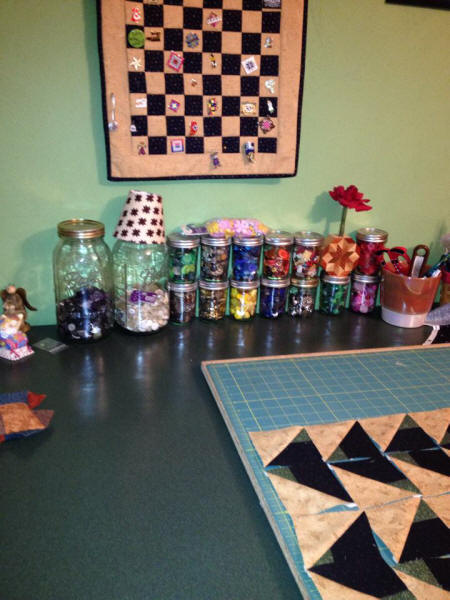
A lovely way to organize sewing notions is to store them in large glass jars – either purchased or leftover jelly jars, Mason jars, pretty teacups, or even vases. They can easily store small items like buttons, bobbins, needle packets, zippers, trim, etc. If you have a vase, you can even put a ribbon around the neck for a decorative effect. Leave it out in plain sight for inspiration!
Cleary uses vases and plastic food jars to keep everything sorted and neat.
Sharon uses apothecary jars for her buttons and wooden spools for collecting.
Ann uses the large pretzel cans from Costco for her threads and needles.
Nancy sorts and stores buttons by color in canning jars. She sent us the picture to the right.
Have you found this article helpful? I would appreciate any tips you might like to add or any pictures you would care to share. Send them to moc.liamg@sngisednoomebeohp.
Have another tip to offer? Send it to me or reply below and I will add it here.
Don’t forget to sign up for the newsletter! Once a week, I send updates on quilt-related information I have found while wandering the web. This might be an inspiring article, a tip or tutorial I have discovered (or written), and occasionally exclusive offers & discounts as well as immediate access to the secret page of free patterns, guides, and printables. You can follow my page on Facebook, or join the Make Believe Quilters group, too.
Love it – she’s hired! Love that she stuck with it to the end. I get a small space opened and cleaned then POOF it goes sideways. With the “better” weather, meaning colder, I’ll quilt more and maybe get the stash under control again. HA
Thanks!