*This post MAY contain affiliate links. That means that if you make a purchase after clicking on a link I may earn a small commission at no extra cost to you. I don’t ever recommend something that I don’t use myself. Not all links are affiliate links. For more information, see our Privacy Policy.
Photos on Fabric – Ideas, Projects, and Supplies
Would you like to personalize your quilts by adding a printed label or a photo? Do you like to make your own fabric foundations, such as Inklingo? Do you need just a little bit more of that long out-of-print fabric? It’s easy to make it yourself using your home computer and inkjet printer. (A laser printer cannot be used with the techniques shown on these pages because it gets too hot.)
There are basically two different methods of printing photos on fabric, each with its advantages and disadvantages.
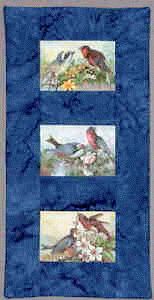
The first is Iron-on Transfer Paper . You print on these, then iron the resulting transfer onto fabric. Results tend to be a bit stiff. Choose photos that are clear and the background not too dark. Attach them to a piece of typing paper and have a color photocopier copy the pictures onto the paper. Use color no matter if the pictures are in color or in black and white.
Copy them in reverse so any written images will come out in the right direction when they are ironed onto the material. Use a high thread count white cotton muslin. DO NOT PREWASH THE FABRIC!!! It will make a big difference in the quality of the final image. Finally, iron the image onto the muslin using a steam free iron and a strong arm. Refer to the package for more directions.
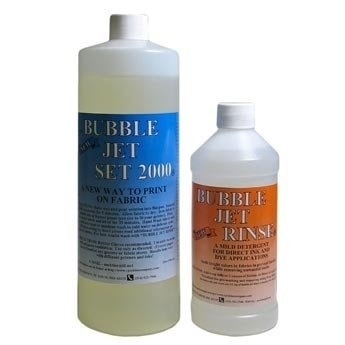
The second method is to print directly on fabric using your computer inkjet printer. You can buy fabric already prepared for this purpose such as Printed Treasures and Electric Quilts’ Printables. You can also make your own, using Bubble Jet set.
To print photos on fabric
If you are going to print on fabric, we recommend Epson printers because they use archival ink. Most Hewlett-Packard inkjet printers will work, but be aware that HP has currently released some new printers which can only achieve a 50% permanency rate. This new ink is placed in cartridges no. 10 and 11. If your printer uses cartridges 10 or 11, use a different printer for printing on fabric. For more information, read this article by C Jenkins Company.
To print on fabric, first, you need to load the item that is going to be printed on fabric (i.e. the picture, label or foundation block) into your computer. The foundation block can be drawn in a graphic program, and the label can be typed in a word processing program, but a photo or piece of fabric must be scanned in. If you don’t have a scanner, ask your local photoshop for assistance. You could also take a picture of it with your camera and upload the picture.
Now all you need is the fabric (choose 200 thread count Pima cotton or PFD muslin) adhered to a stabilizing foundation so it won’t jam in your printer. For more details on this process, see Using Bubble Jet Set to Create Photos on Fabric.
There are several ways to stabilize this fabric. You could iron it to the shiny side of a piece of freezer paper. It does tend to curl, so try to cut it into 8 ½” x 11 ½” sheets ahead of time. (Learn more uses for freezer paper here.) Flatten them under your cutting board for a few days, or press them to a pressing sheet. When ironing fabric to freezer paper, use a hot (1200 watt) iron on the hardest surface you can find. If you are using pretreated fabric sheets like Printed Treasures, you can skip this step as it comes adhered to a stabilizing backing.
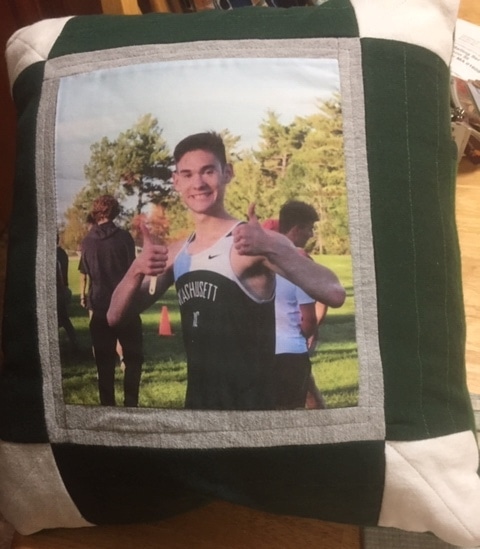
Using Pre-prepared fabric sheets
Electric Quilt has just come out with a new product similar to Printed Treasures but with 6 sheets in a package. You can print sharp, photo-quality images right from your computer to be used in your next quilt, quilt labels, pillows, scrapbooks, purses, clothing, and more. Click here to order EQ Printables.
Electric Quilt also makes a version using lawn, luxuriously silky cotton fabric with a thread count so fine that fabric texture will not be noticeable. First, you scan in photos, flowers, love letters, or whatever. Then print, let dry, peel off the plastic backing and soak in cool water for 10 minutes. When the fabric dries, sew! The warm white fabric makes photo-complexions glow. You’ll be amazed at how beautiful your photographs look. Click here to order EQ Printables in Lawn.
Pay extra attention to the side that is going through the printer first – you want that side to be extra solidly adhered to the freezer paper. Be sure to remove any stray lint, strings, or threads. To avoid paper jams as the paper/fabric combination is being fed through the printer, try cutting off a small corner on both the right and left sides at the end that is going through the printer first. Actually taping the fabric to the freezer on the edge that will be fed through the printer works well, too.
Have another tip to offer? Send it to me or reply below and I will add it here.
Don’t forget to sign up for the newsletter! Once a week, I send updates on quilt-related information I have found while wandering the web. This might be an inspiring article, a tip or tutorial I have discovered (or written), and occasionally exclusive offers & discounts as well as immediate access to the secret page of free patterns, guides, and printables. You can follow my page on Facebook, or join the Make Believe Quilters group, too.
Thank you for all the information that you send, it has been most helpful