*This post MAY contain affiliate links. That means that if you make a purchase after clicking on a link I may earn a small commission at no extra cost to you. I don’t ever recommend something that I don’t use myself. Not all links are affiliate links. For more information, see our Privacy Policy.
How to Make and Use Prairie Points
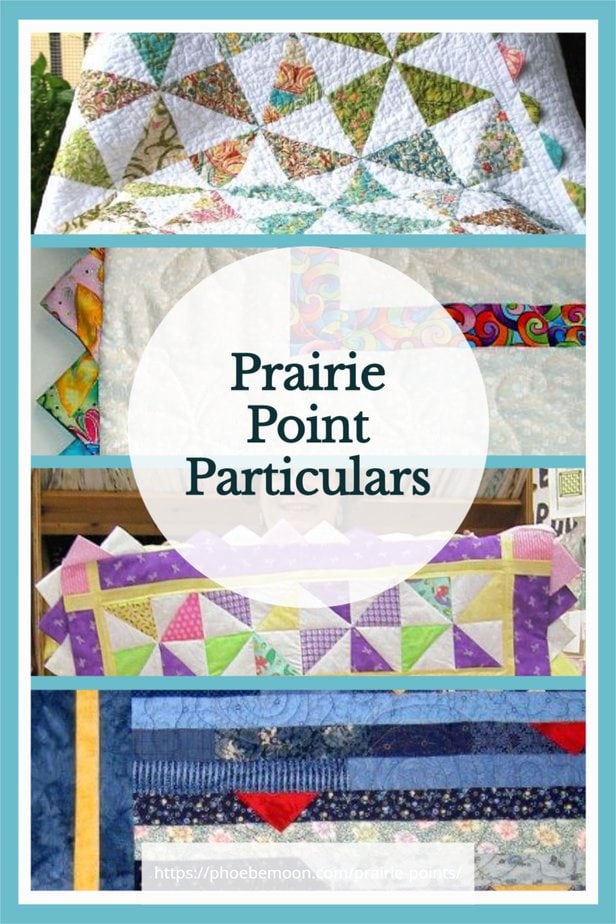
Prairie points are squares that have been folded into triangles. They are inserted into seams to serve as a decorative effect. Prairie points made with half square triangle blocks can produce an unusual decorative effect. Experiment with two-color squares with a seam in the middle or slightly off to one side for different effects, too.
Be sure to look at the examples at the bottom of the page.
Method One

There are three different methods for making a prairie point, all starting with a square. In one method, the square is folded in half, wrong sides together to make a rectangle. Then the two corners are folded into the center so all the raw edges are along the bottom. These raw edges will be enclosed in a seam.
The graphic shows the prairie points all neatly lined up, but they don’t have to be! Experiment with different sizes and different spacing. You can even make a two-color prairie point by using a half-square triangle or by seaming the square in the center. Fons and Porter have done a video on Double Prarie Points using this method.

Method Two
Another method folds the square in half on the diagonal, wrong sides together. The side with the raw edges is then folded again so all the raw edges can be inserted into a seam. These points look good next to each other or nested inside each other.


Here is what that will look like. Notice that you can use different colors – a great way to use those 5″ charm squares. If you inserted this prairie point between two rectangles of the same length, they would become dimensional Flying Geese. (see pictures below)

Method Three
To make a prairie point with no folding, place two squares right sides together and sew using a 1/4″ seam all the way around the outside. Pretend you are making a pillow with no way to get to the inside. Cut this pillow once on the diagonal and turn the two resulting triangles inside out, cutting off any excess fabric. This is a great way to use up scraps.
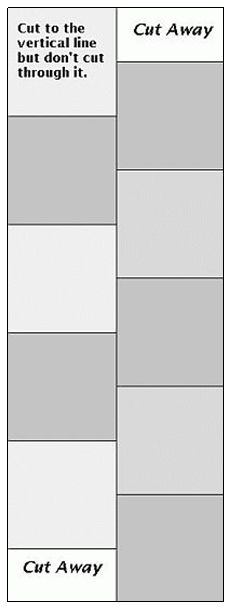
To make this example of continuous prairie points, cut a strip from the width of a fabric 7 inches wide. Draw a line down the center lengthwise. On one side draw a line horizontally from the centerline to the cut edge every 3-½”.
Do the same thing on the other side of the line **BUT** start your first line 1-3/4″ from the top.
Cut on the drawn horizontal lines to the center. Don’t cut that vertical line! You will have a small block at both ends on opposite sides of the centerline. Just cut that away.
You now have squares that are anchored only by a center strip of fabric. Fold these into prairie points using the second method, then fold the entire strip in half vertically so one side of the points lays over the other side.
If you use fabric that variegates in color either top to bottom or left to right, your prairie points will change color, too. You can also seam the strip in the middle.
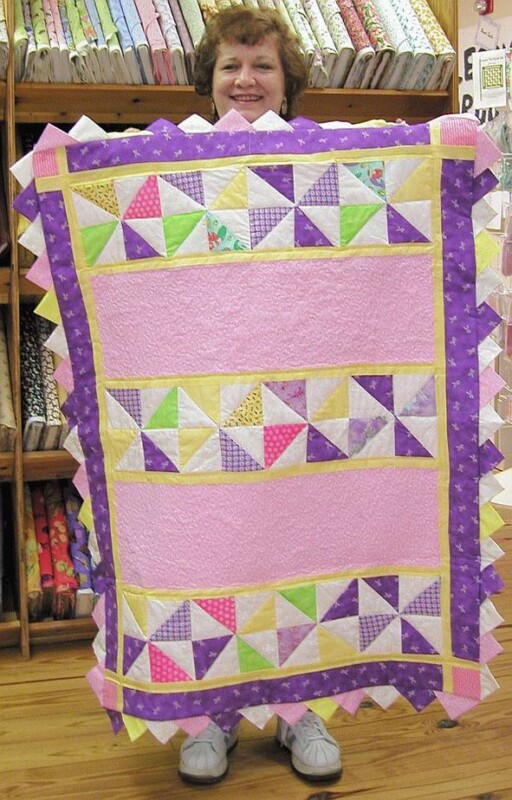
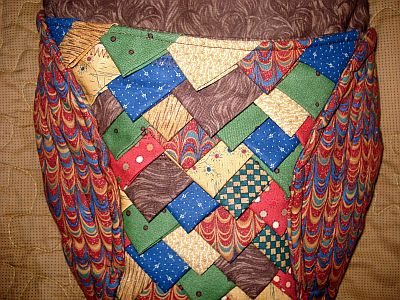
Prairie Point Examples
A handout is available at the bottom of this page.
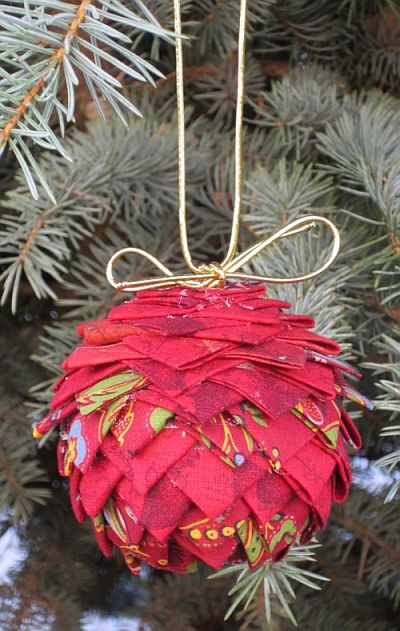
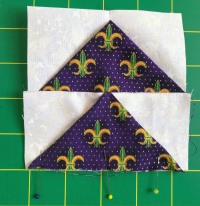
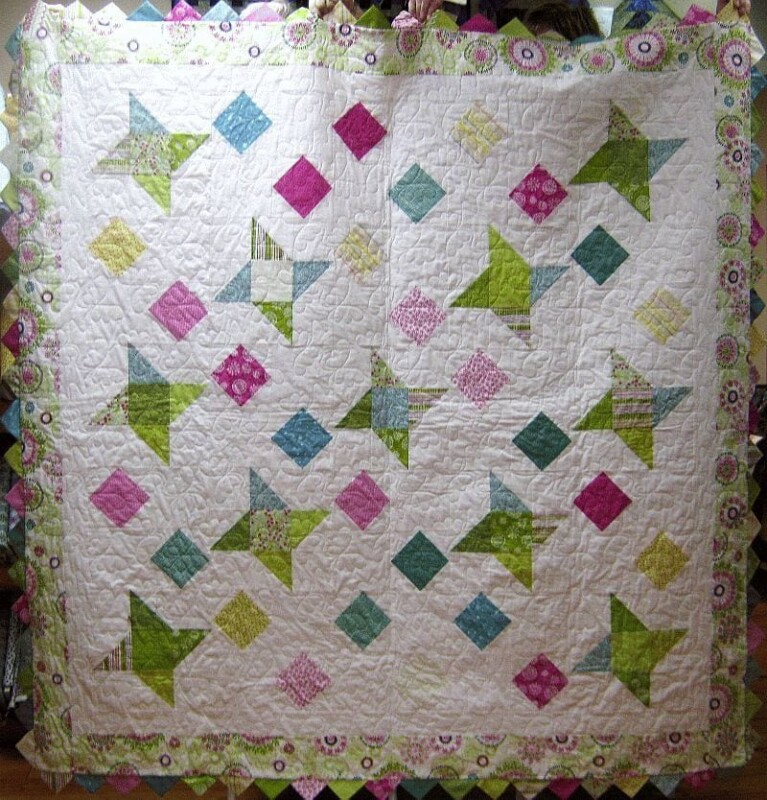
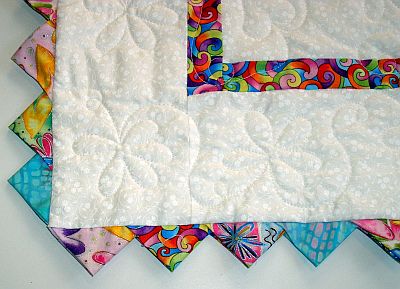
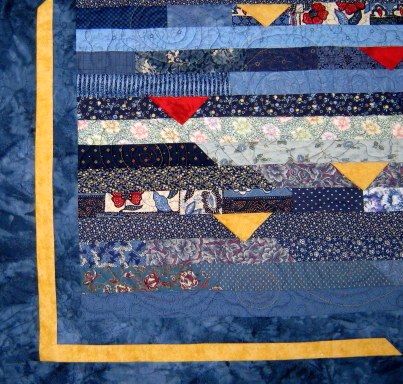
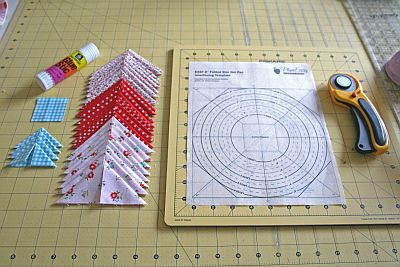

(tutorial by Lovely Little Handmades)
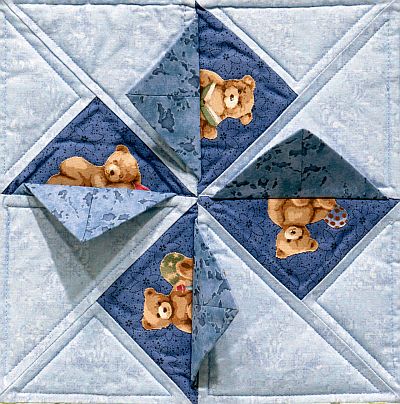
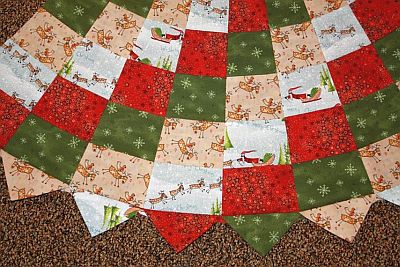

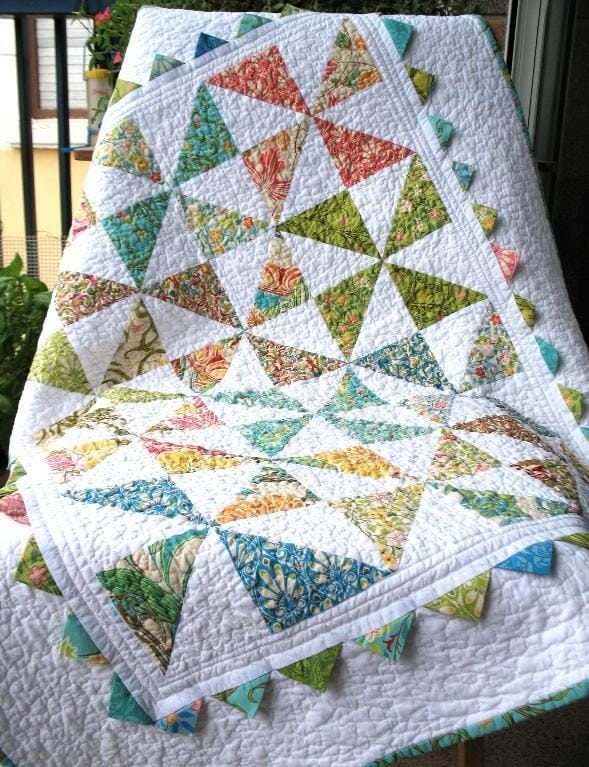
Have another tip to offer? Send it to me or reply below and I will add it here.
Don’t forget to sign up for the newsletter! Once a week, I send updates on quilt-related information I have found while wandering the web. This might be an inspiring article, a tip or tutorial I have discovered (or written), and occasionally exclusive offers & discounts as well as immediate access to the secret page of free patterns, guides, and printables. You can follow my page on Facebook, or join the Make Believe Quilters group, too.
