*This post MAY contain affiliate links. That means that if you make a purchase after clicking on a link I may earn a small commission at no extra cost to you. I don’t ever recommend something that I don’t use myself. Not all links are affiliate links. For more information, see our Privacy Policy.
Sewing with Flannel
Tips and Tricks for Sewing with Flannel
Create Cozy Projects by Sewing with Flannel
Flannel is a soft and warm fabric that is perfect for creating comforting quilts, shirts, pajamas and other projects. Its soft and fuzzy texture provides a comfortable feel that is wonderful for snuggling up on a cold winter’s night. Flannel can be made from a variety of fabrics, including wool and synthetics, but is usually found in cotton. It is a lightweight and breathable fabric that comes in a variety of colors and patterns. Be aware of the different qualities of the flannel. A woven flannel behaves differently than a printed flannel.
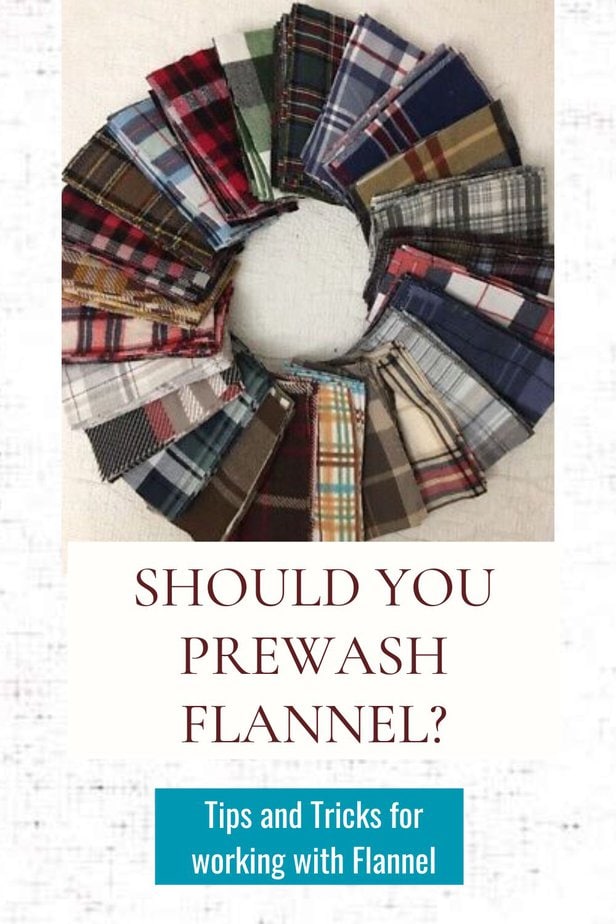
Sewing with flannel can be a rewarding experience, but it also presents some challenges that can make the process a bit more tricky. For example, flannel can be prone to fraying, stretching, and shifting when sewn. It also shrinks in the wash, but that could be a GOOD thing. If you like the heavily puckered look of antique quilts, wait until after your quilt is completed before washing it. If you prefer a smoother look, just pre-wash and dry the fabric.
To Pre-Wash Flannel or Not to Pre-Wash? That is the Question
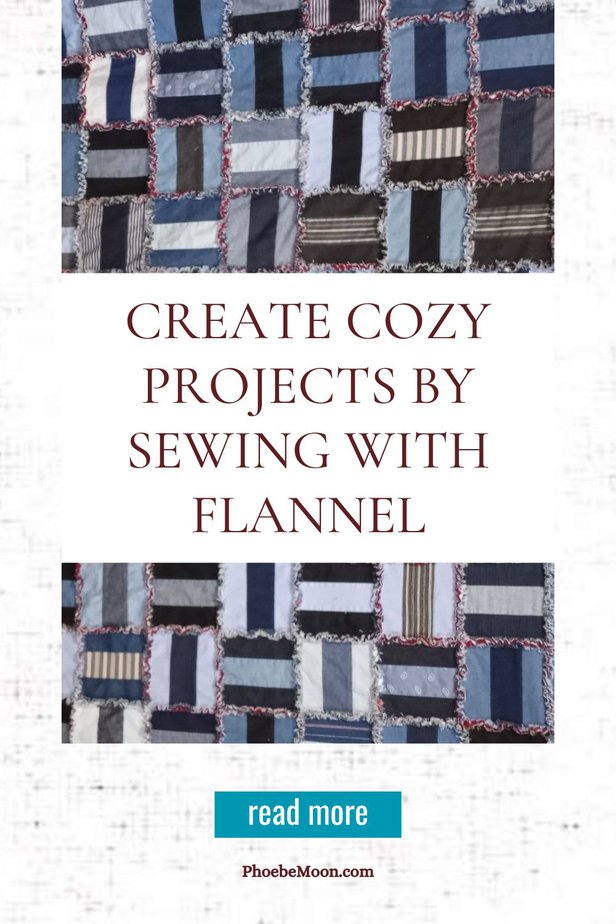
Because flannel frays so easily, you might want to put small pieces such as charms in a lingerie bag before washing. If you are washing small yardage pieces such as fat quarters, try snipping off one corner about 1/2″, or stay-stitching the edges using a zig-zag or overhand stitch. If you are making a rag quilt, which depends on fraying for the design, I suggest using “yarn dyed” fabrics for rag quilts as they “rag” easier. Wait until after your quilt is entirely finished before washing it. Put an old stocking over the drain hose so you don’t clog up your plumbing with all the loose threads. Consider going to a laundromat to use their large capacity machine.
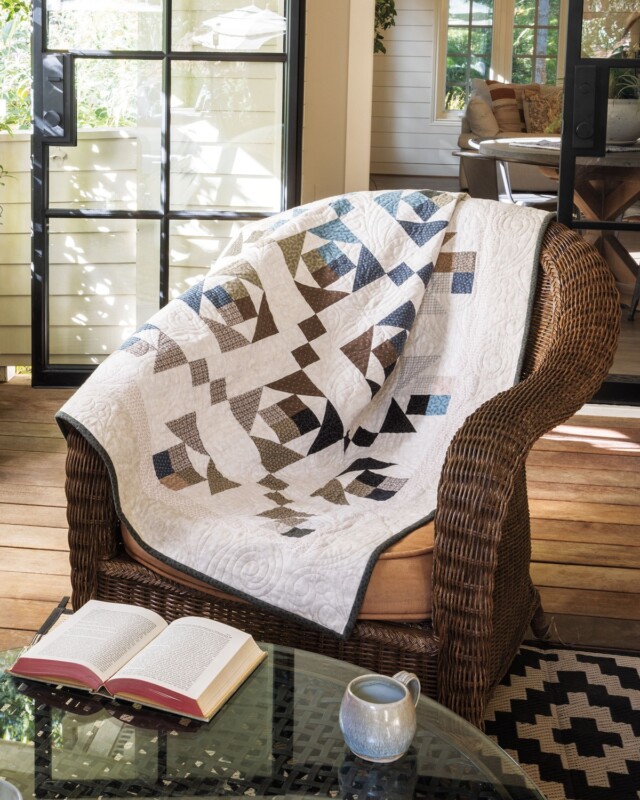
It’s best to use cold water and a gentle detergent when washing, unless you think the quilt will face hard use. In that case, use the hottest water that you can. If you are washing a color you think might bleed, try washing it on cold first, then put it in a second hotter wash. You can use Retayne to keep the color bright as it retains the color molecules. If your flannel has already run, Synthrapol might remove those loose color molecules and lessen the damage. Be aware that low thread-count flannel may pill in the wash.
Consider using a fabric softener in the final rinse to enhance the softness of the flannel. Don’t bother with vinegar to set the dye. That worked in the days when the mordant was fugitive, but it rarely works on today’s quality fabrics. Vinegar is great at cutting soap scum, though, so if your little black dress has become a little gray dress, give it a try!
Dry your flannel on low heat, again unless you think the quilt will face hard use. Then dry it on high. You might want to add a large bath towel to the dryer to keep the yardage from twisting and wrinkling. If you are making a rag quilt, try drying it on fluff. Don’t forget to clean your lint filter.
When pressing the fabric, just use an up and down motion. Don’t move the iron across the fabric like you do when ironing clothing. That might stretch the flannel. Use a warm iron and press from the wrong side of the fabric using a dry iron. Steam might cause your fabric to pucker or stretch. If you have a wool pressing mat, I would suggest using that.
If you are using a flannel backing with a cotton top (not flannel), be sure to wash it first. Flannel – even cotton flannel – shrinks at a different rate than cotton. Your final quilt will lay smoother after a washing if you prewash the fabrics before making the quilt.
If you plan on washing the quilt or project again when you are done, you can use spray starch to help stabilize the fabric while you work on it. You could also use a lightweight iron-on stabilizer such as interfacing on the back of the fabric if you plan to cut it into small pieces for a craft project.
Cutting Cotton Flannel
Cotton flannel has the same grain as any other cotton – the length of the fabric parallel to the selvage will have the least stretch. The cross grain will have more, and the bias will have the most.
Before you begin cutting your fabric, pull a thread about 2″ from the end. (You could also rip it.) You want to make sure your cuts are on the straight of grain. Use a brand-new 60mm rotary cutter blade and double-check to make sure you are cutting on the straight of grain with every cut. It’s very easy for your ruler to slip on fuzzy flannel fabric.
If you are cutting plaids for a project and are worried about them matching, I suggest using your best shears to make cuts. Use pinking shears if you have them. You may go off grain slightly, but matching the plaids is worth the time it takes.
If you are making a quilt, cut your binding strips slightly wider than you normally would. Flannel is thicker than regular lightweight cotton, so when it’s doubled up and folded over an edge, it needs to be wider to fully cover the raw edge completely.
Sewing With Flannel
Flannel can easily slip while you are sewing. Remember that your feed dogs will pull the lower fabric slightly faster than the upper fabric. Always use a walking foot and don’t be afraid to use lots of pins to keep the two fabrics lined up with each other. Avoid stretching the fabric.
Use a new “sharp” 80/12 or 90/14 needle. You need a strong, sharp needle to help prevent the fabric from puckering and snagging. The sharpness of the needle allows it to cleanly pierce through the fabric, reducing the risk of damage to the fabric.
Adjust the stitch length to a longer setting like 2.5 or 3mm and increase your machine’s tension slightly to accommodate the heavier weight of the flannel.
If you are sewing with cotton flannel fabric, try to use a 50wt long-staple cotton thread or a poly-coated cotton thread.
If you have a serger, use that to sew your seams. If not, finish your seams with the overlock stitch on your machine or a zigzag stitch. Press your seams to the side. That will help prevent frayed threads from coming through the top. These finishes help to reinforce the seams and prevent the flannel from fraying. If your seams are puckering, try using a pressing cloth and a wool pressing mat. If you are making a craft project, consider a French seam. It’s a little thicker but it encloses all the raw edges.

Take your time and press as you go. If you must rip out seams, be gentle!
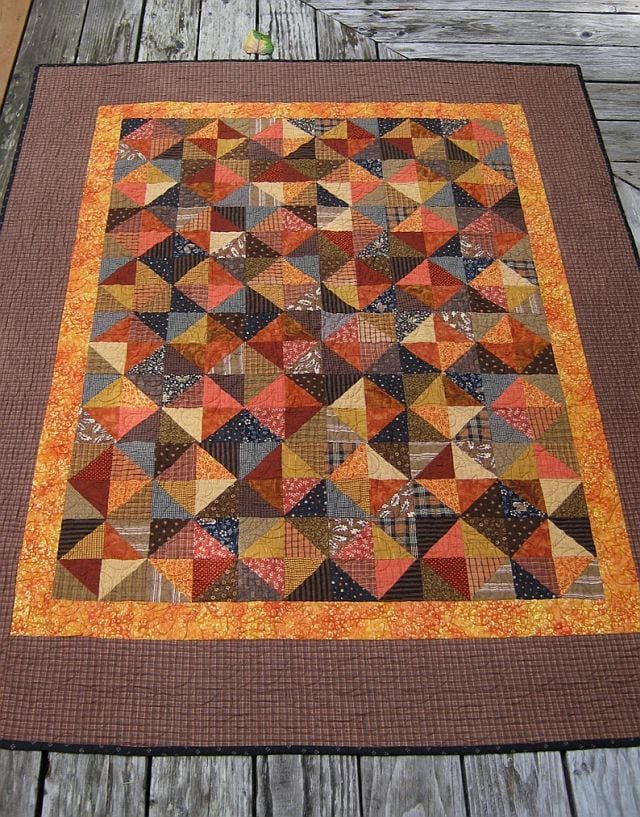
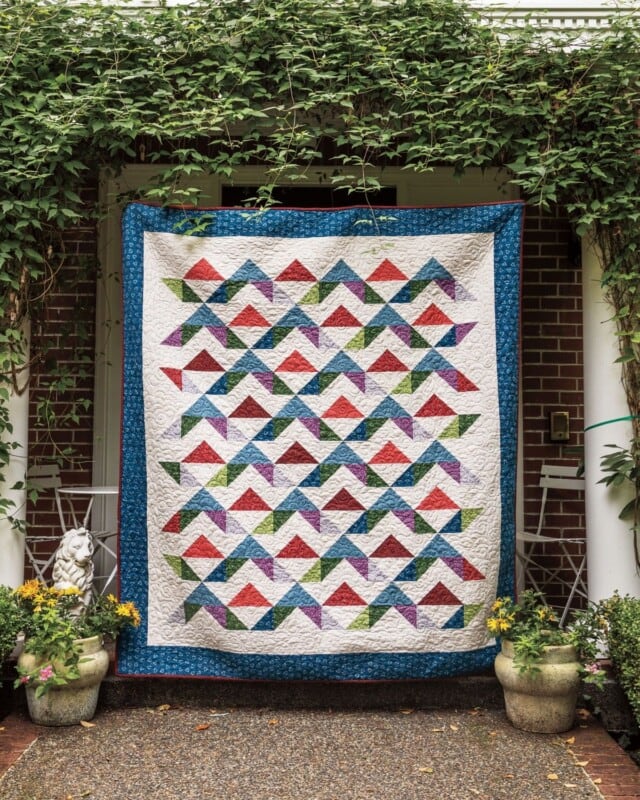
How do you quilt a flannel quilt?
You can use any commercial batting that you like for batting. Or, none at all. If this were an all cotton quilt, you would call a quilt with no batting a “summer quilt.” That name doesn’t fit very well with a flannel quilt! You could quilt a flannel top to just a denim backing, or to another wide flannel backing. You could even use flannel as a batting, like they did during WWI when cotton was needed for the soldiers.
I do not recommend that you try to quilt a flannel top to a fleece or minky backing. As luxurious as that sounds, I suspect you will be pulling your hair out before you are done.
The advantage of a flannel backing is that it grips wherever it is placed. It is less likely to slip off a bed, or a wheelchair. When making a quilt for a person in a wheelchair, use a polyfill batting to make it lightweight.
If you are machine quilting at home, proper preparation will make the process much easier. First, clean your machine! It’s bound to have a lot of fuzz from the flannel. Here is more information on machine quilting.
Secure your backing tightly, right side down, and spray baste the batting. Smooth the batting carefully on top of the backing, then spray baste again. Spread the quilt top on top of the batting carefully, smoothing a small section at a time. You should be able to pin these layers without a problem but if you would like to add thread basting, use a heavier weight thread every 12″ or so.
Flannel tends to stick to surfaces, so make your quilting area as slick as you can. Put a vinyl tablecloth on your sewing table and use a Supreme Slider for the bed of your machine if you can. Use a walking foot and wear quilting gloves to keep a good grip on the three layers. A Topstitch 14 needle will work well for the actual quilting, but you may want to make a few practice sandwiches and experiment. Straight line quilting is great, but try making some curves, too. Your machine might have some stitches which will add interest, but don’t make them too small.
What else can you do with flannel?
- baby bibs, burp cloths, changing pads, etc.
- clothing – shirts, pajamas, hair bows, bags, etc.
- hot pad sets, coffee cozies, coasters, placemats, etc.
- Placemats, table runners, table toppers
- interlining for small projects
- mittens, hand warmers, rice bags
- pillowcases, pillow covers, and other home dec items
- pincushions
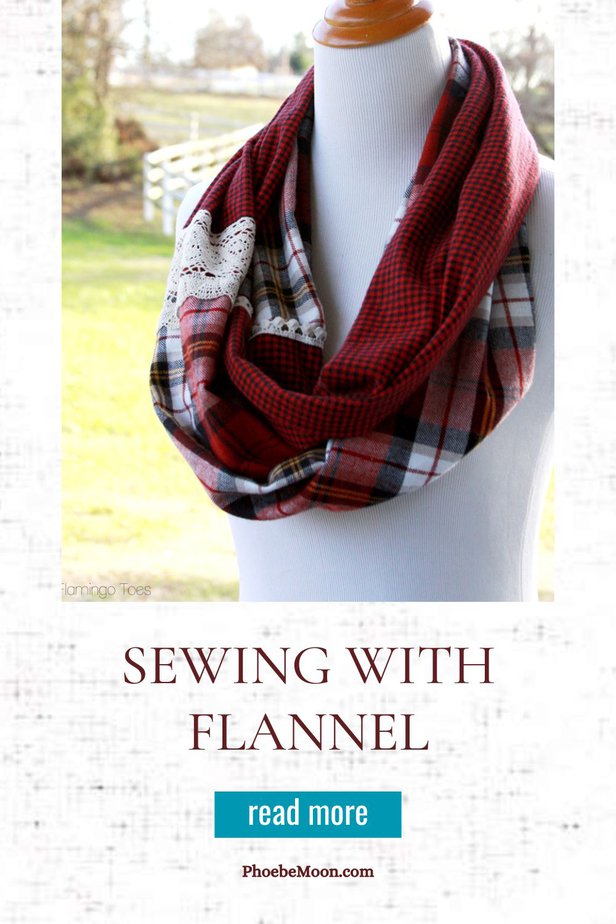
- scarves (infinity scarves, winter scarves, neck warmers, etc.)
- toys, ornaments
- Mug rugs, bowl cozies
- Wall hangings, banners, pillows
- Tote bags, gift bags
- Mini quilts, Doll quilts
- From Liz: At our NICU’s and Infant nurseries the request flannelette pillowcases from our Guilds. The reason, they use them to cover (encase) the mattress pads in the bassinets. The pillowcase goes home with the newborn.
- Also from Liz: Our Provincial NICU has just asked our Guild to make 30” x 33” quilts for them. They would like both sides flannelette and batting in the quilt. These would be for the premature infants to be used to cover them when out of the incubator and in the arms of a parent. I would assume the quilt would go home with the infant.
Gallery
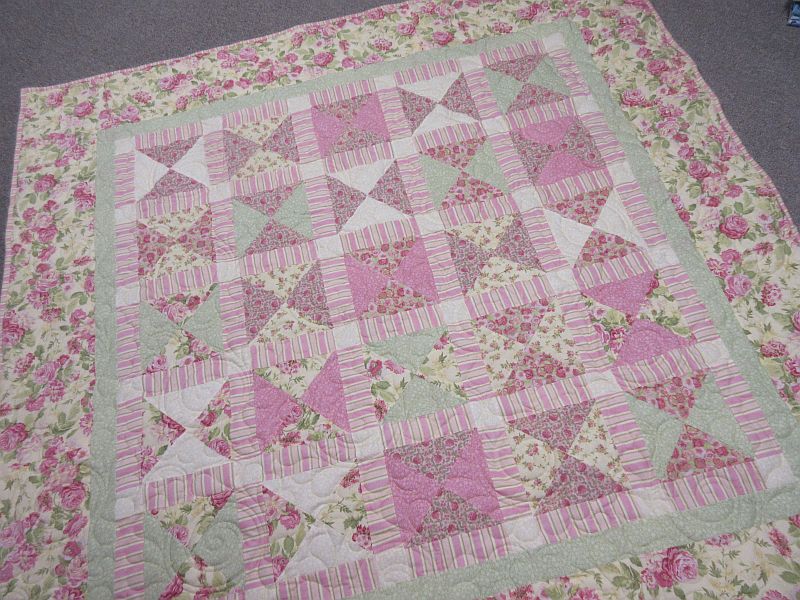
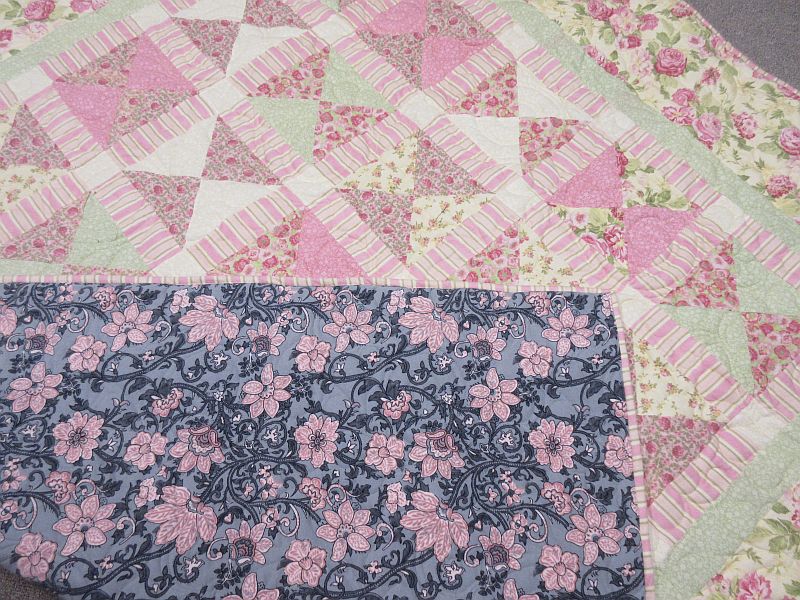
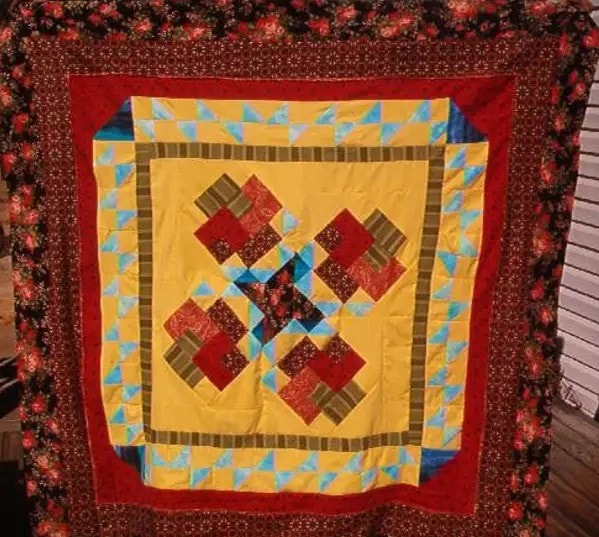
This story is from Rita:
“Three weeks ago a good customer came to my house to pick up a couple of baby quilts and while she was here had mentioned that her mother had just been diagnosed with stage 4 cancer recently. She had thought of getting a quilt for her just to keep her warm and cozy but wasn’t quite there yet. When she left I looked around and found this bundle of flannels just waiting for the right quilt. Made it up and left it for her at the church she volunteers with. She picked it up on a day where her mother had a very bad morning and it brought tears and joy to them both. She laid with it all day. I just read the obituaries and her mother passed this weekend, a week after she had gotten the quilt. The moral of this story is, if you ever decide to do something nice for somebody, just DO IT!, don’t overthink it, don’t put it off. The joy it brings to your heart knowing the joy you brought to someone’s last week is immeasurable!”
Free Project
Please add moc.hsadparcs@sirk to your contacts list to make sure you get the confirmation message. Drag the confirmation message from the Promotion tab to the Primary tab if you use Gmail.
If you are already a subscriber, it’s okay to fill out this form. You won’t be put on the mailing list twice.
Have another tip to offer? Send it to me or reply below and I will add it here.
Don’t forget to sign up for the newsletter! Once a week, I send updates on quilt-related information I have found while wandering the web. This might be an inspiring article, a tip or tutorial I have discovered (or written), and occasionally exclusive offers & discounts as well as immediate access to the secret page of free patterns, guides, and printables. You can follow my page on Facebook, or join the Make Believe Quilters group, too.
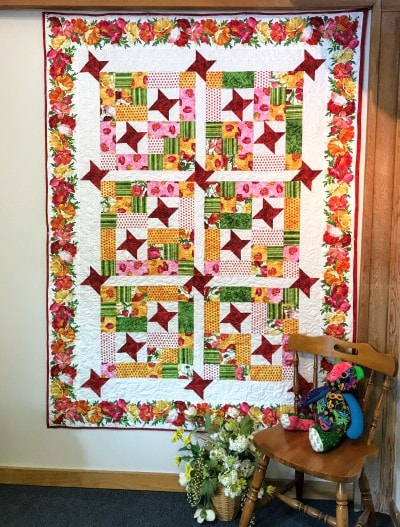
absolutely adore the feeling of a flannel back on a quilt. nothing cozier. it will never be a “show quilt” as the flannel is not a fabric that lends to perfection, but so worth it. i am new to quilting and can attest to all steps mentioned above. wish i had read the article beforehand. follow them!! (i did not square grain..oops, but did use a half inch seam pressed to the side in hopes of catching it better when quilting) flannel is like art… you know you love it when you “feel” it. ha
This is a good article for sewing with flannels. It has been a long time since I sewed with flannel. I also like the comment you made about stay stitching around the edges of fat quarters. I have found that it is better to do this with some of the newer fabrics before you wash them to keep the fabric from fraying.
This is a good article for sewing with flannels. It has been a long time since I sewed with flannel and still have not made a flannel quilt, but I remember all of the nightgowns and pajamas that my mother made for my sister and I. I also like the comment you made about stay stitching around the edges of fat quarters. I have found that it is better to do this with some of the newer fabrics before you wash them.
All great info. I have found slowing down when piecing as really rapid stitching can stretch out flannels too. I always press press between blocks to help them stay in shape. Larger pieces as opposed to lots of little ones are better for flannels. Just from my own experience.
Love this site. I have made so many of your quilts I am really a fan!
Great post!! I would absolutely follow Phoebe’s advice to overcast the seam allowances; ask me how I know this! Flannels really do require you to slow down and to be mindful of your process. Just remember: it’s okay to be imperfect! The most highly coveted quilt can be wavy from stretched blocks– or uneven & without any matching corners– but still be the one that family members fight over. 🙂 That Pumpkin Spice pattern looks uh-mazing–but I don’t know if I can manage flannel HSTs even with the heavy starch. LOL Thank you for all the tips!
One thing about sewing with flannel is to make sure you use something like a jeans needle in your machine. Make a practice swatch for tension on your machine as it is thicker. Also you may have to clean out your machine a few times.