*This post MAY contain affiliate links. That means that if you make a purchase after clicking on a link I may earn a small commission at no extra cost to you. I don’t ever recommend something that I don’t use myself. Not all links are affiliate links. For more information, see our Privacy Policy.
Choosing a Border for your Quilt
Part One
Part Two is here
The perfect border can often make the difference between an ordinary quilt and an extraordinary quilt. A border can surround the interior blocks of a quilt bringing them to an abrupt halt or it can gently encourage those blocks to fill out the quilt and finish it.
An exciting border can bring life to a plain quilt top, making the border the focal point of the quilt. Likewise, a very busy or heavily pieced quilt top can be calmed with a plain border. The choice you make will influence the final effect of the quilt.
Quilt Border Choices
Decide on the type of border you want to accent the central design. Remember that you can mix and match borders to create a design, emphasize a theme, or increase the size of a quilt. Quilts with multiple borders look best if the smallest border is on the inside, but this isn’t a hard and fast rule. If you are adding applique to
the border, consider doing it after the borders are sewn together as a dimensional element.
A straight border can be easily calculated and added to a quilt top to make it larger. A straight border is usually one piece of fabric that may be seamed to make it long enough to fit the quilt. If you have more than one straight border, make sure they are visually different in color or scale. Quilts with clipped or angled corners often have straight borders.
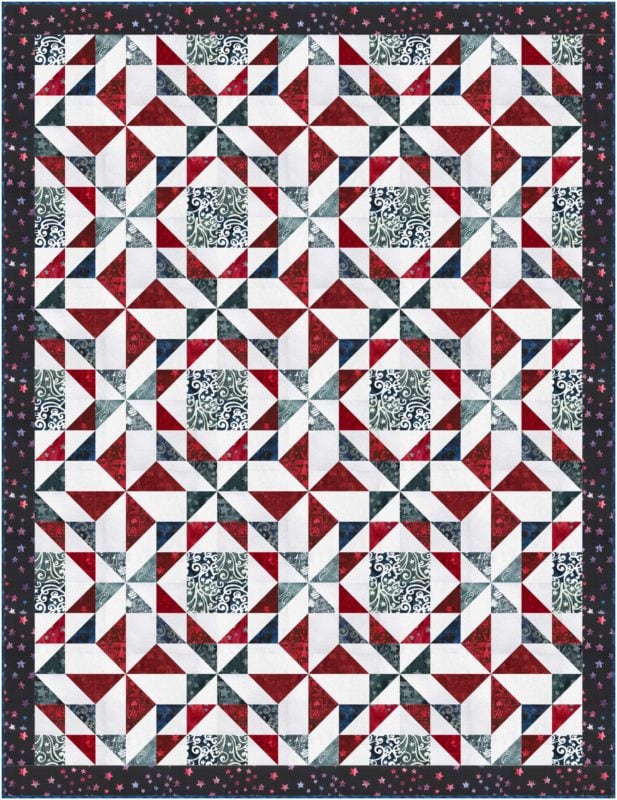
A floating border is a straight border made of the same fabric as the interior blocks, thus “floating” the interior quilt top away from the outer border(s.)
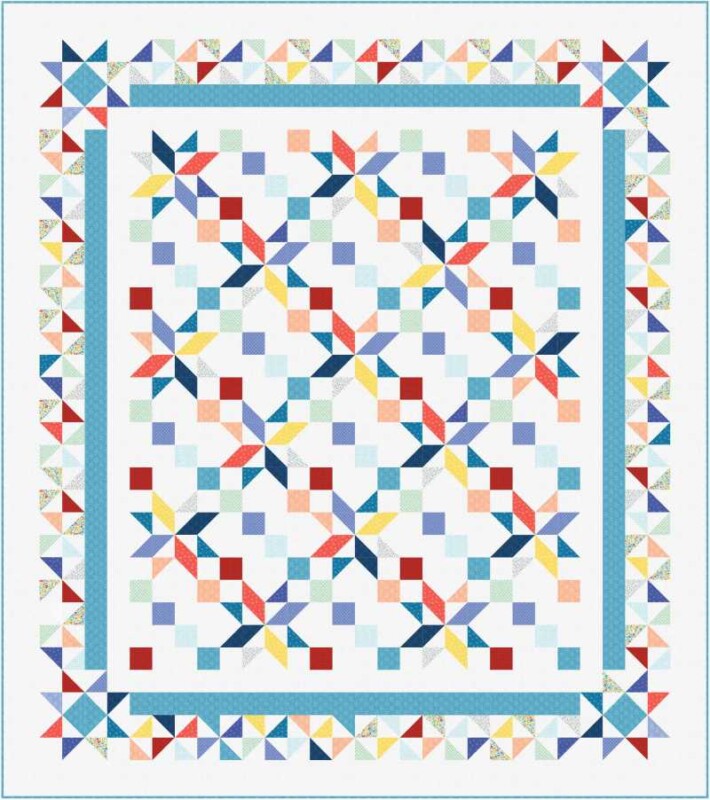
A sashed border is a border that is made in the same style as the sashing. The squares at the intersections of the sashing strips are called cornerstones.
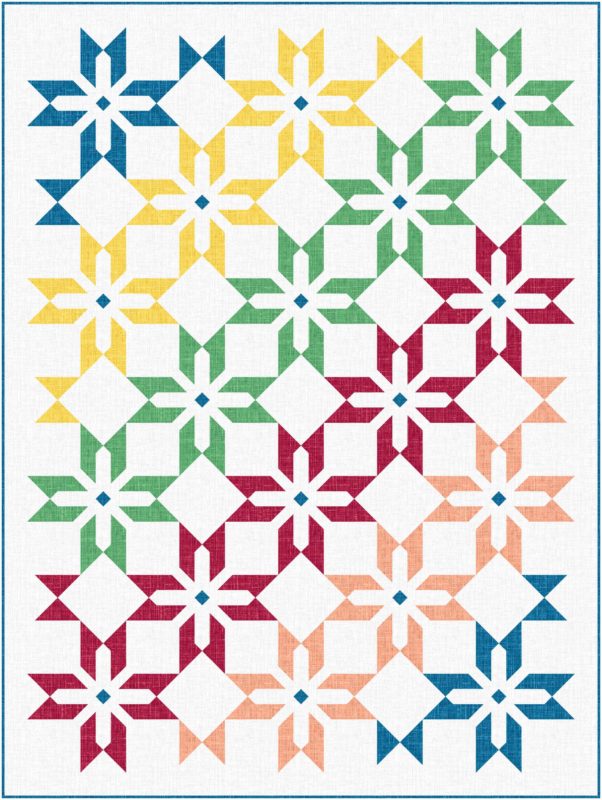
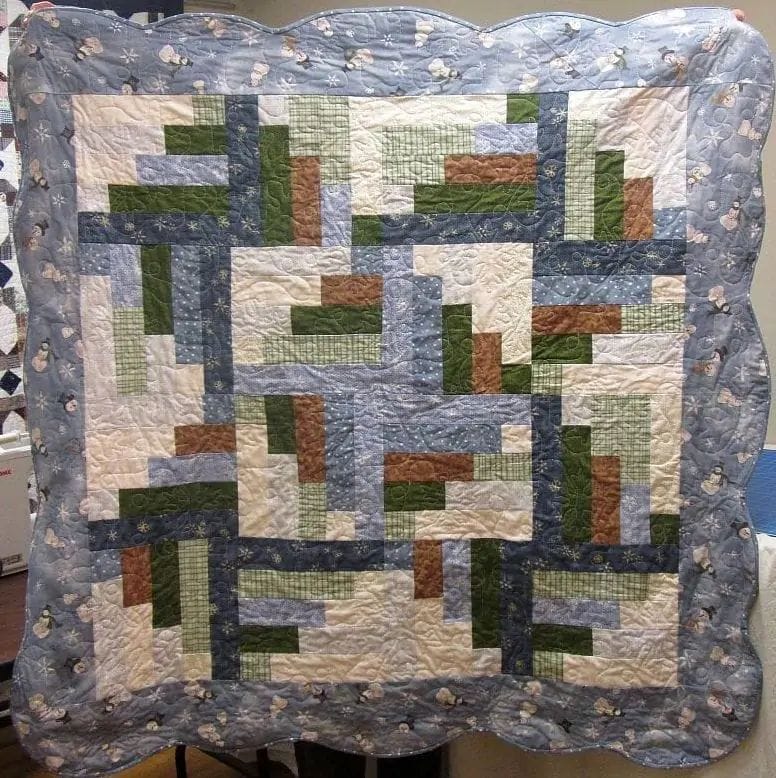
A scalloped border is applied the same way as a straight border but adds more interest to the edge of the quilt. Quilts with rounded corners often have scalloped borders. There is a free tutorial available to newsletter subscribers on How to make Scalloped Borders using the Scallops, Waves, and Vines ruler by Quilt in a Day and The Binding Tool at the bottom of this page.
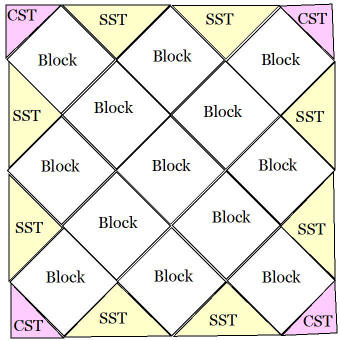
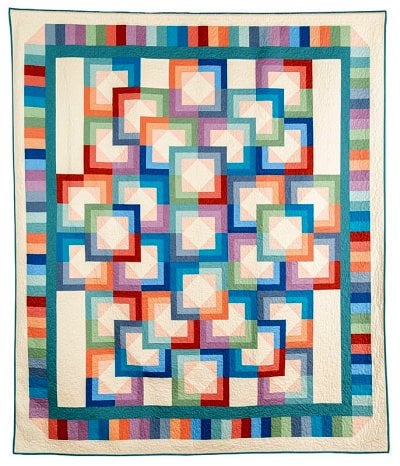
A pieced border is made of blocks that complement the interior design. This border will look best if the size of these blocks is the same size or slightly smaller than the blocks of the interior quilt. The size of the pieced border blocks should be calculated to fit the size of the interior quilt top if possible. A coping strip
can be added to make everything come out even or to separate the interior quilt top from the pieced border.
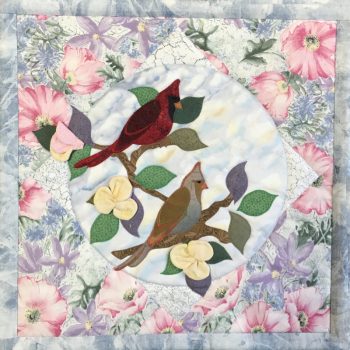
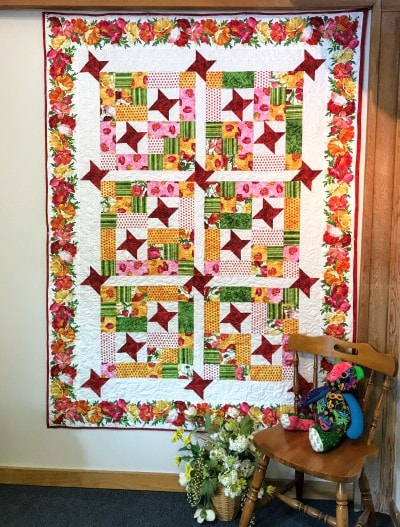
A mitered border can frame the center of a quilt top, much like a painting in a frame. Using a border print for a mitered border emphasizes the framing effect.
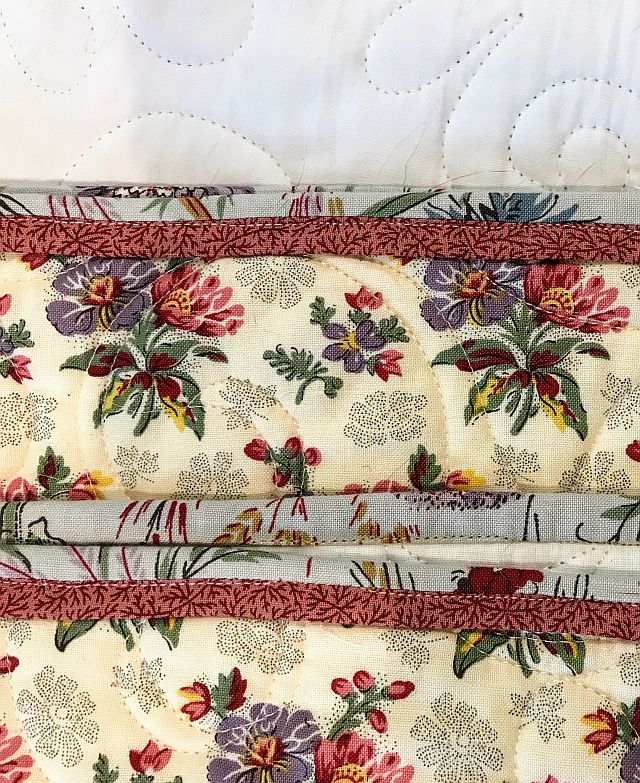
A dimensional border such as piping or a flange is usually inserted between two other borders and adds no additional size to the quilt.
There is no requirement that a quilt must have a border! Your quilt may look best without one.
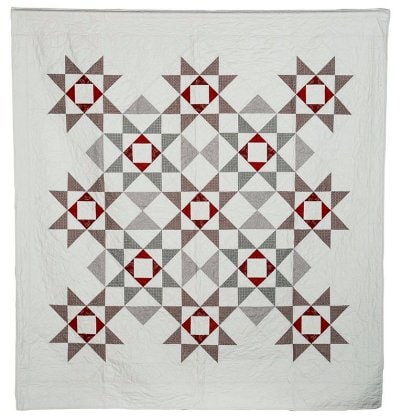
Here is more information on adding a border to your quilt.
Have another tip to offer? Send it to me or reply below and I will add it here.
Don’t forget to sign up for the newsletter! Once a week, I send updates on quilt-related information I have found while wandering the web. This might be an inspiring article, a tip or tutorial I have discovered (or written), and occasionally exclusive offers & discounts as well as immediate access to the secret page of free patterns, guides, and printables. You can follow my page on Facebook, or join the Make Believe Quilters group, too.
