*This post MAY contain affiliate links. That means that if you make a purchase after clicking on a link I may earn a small commission at no extra cost to you. I don’t ever recommend something that I don’t use myself. Not all links are affiliate links. For more information, see our Privacy Policy.
Using Men’s Ties in Quilts
“Tie”ing up loose ends
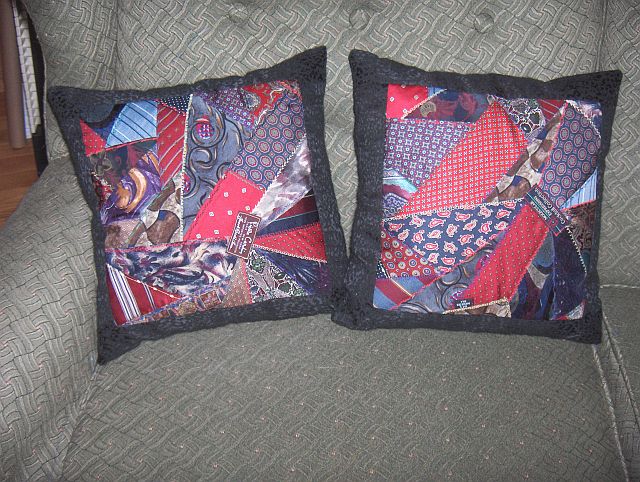
Have you ever been to a garage sale or auction and found a box full of old silk neckties? The fabric in them called to you but you didn’t know what to do with them, so you passed them by. If that memory still haunts you, go ahead and buy them next time! Use these tips for making projects out of men’s ties.
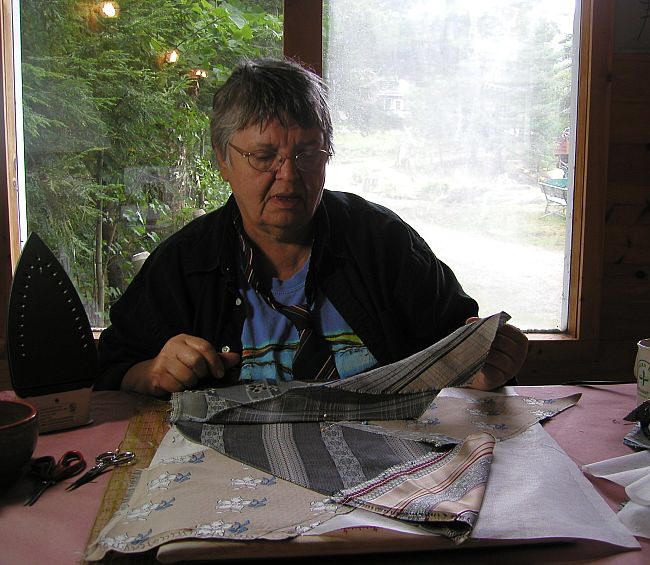
Silk ties come in different sizes, styles, and weights. Try to work with all the same weight if you can. Carefully unpick the stitches on the back of the tie when you take it apart. Remove the lining and the label and save it for use in another project. You should get about an eighth of a yard of silk fabric to work with. Check it over for stains or holes. It’s always risky washing silk. Test a small area first. You might be happier just cutting around any stained area, or maybe appliquéing the label over the hole. If the front of the tie is stained, check the back. Sometimes the pattern on the back is just as interesting as the design on the front.
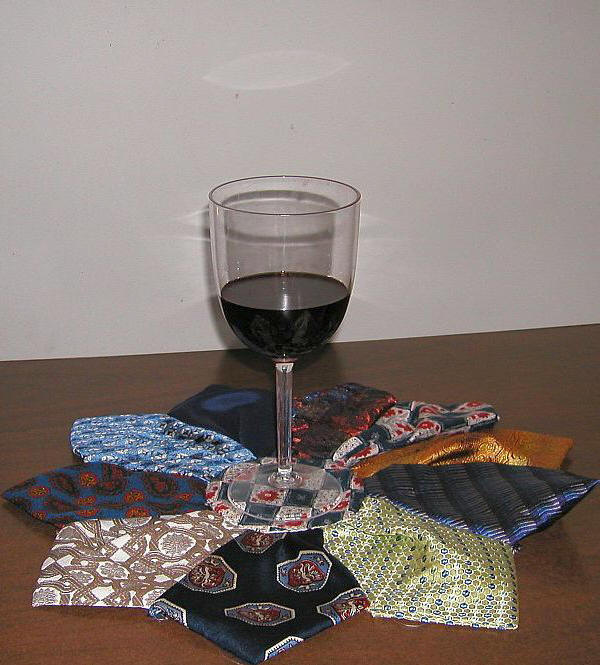
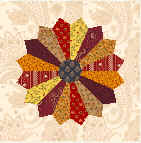
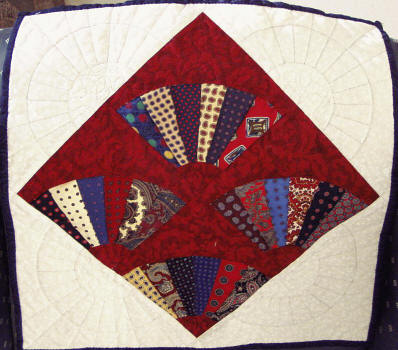
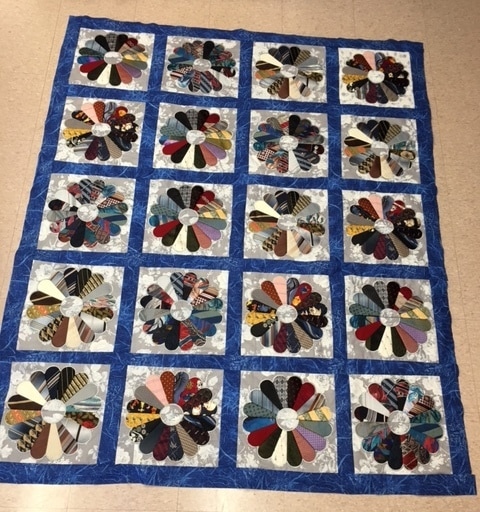
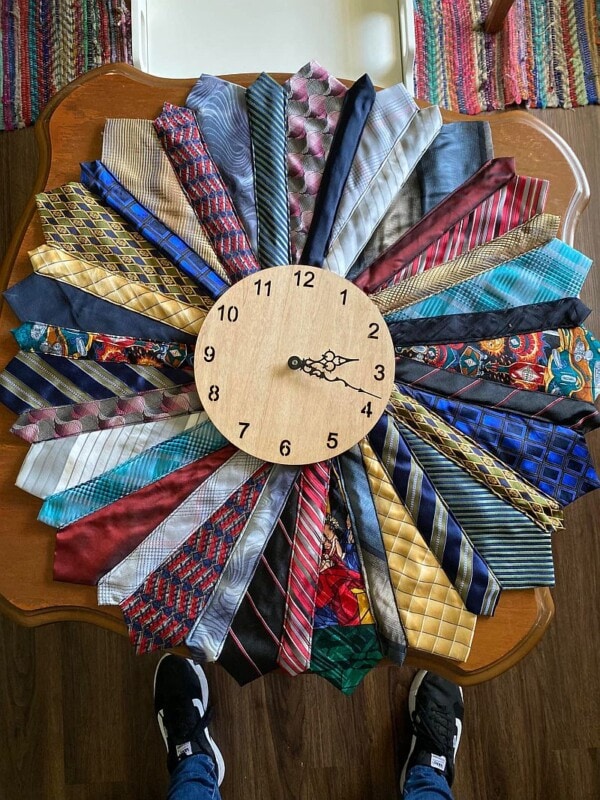
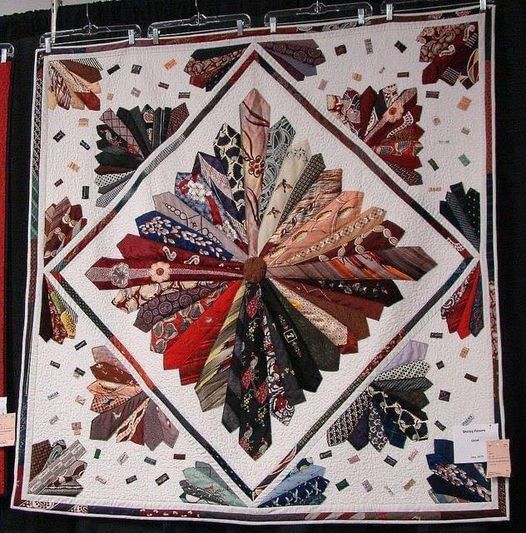
Should you cut off the triangle end? That depends on what pattern you choose. A Dresden Plate design or a three-dimensional Dahlia design can use the end pieces intact.
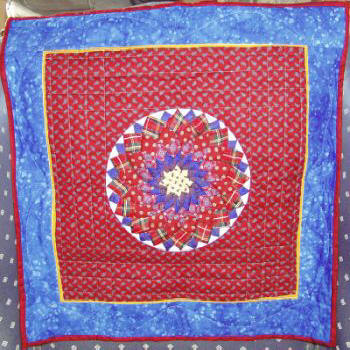
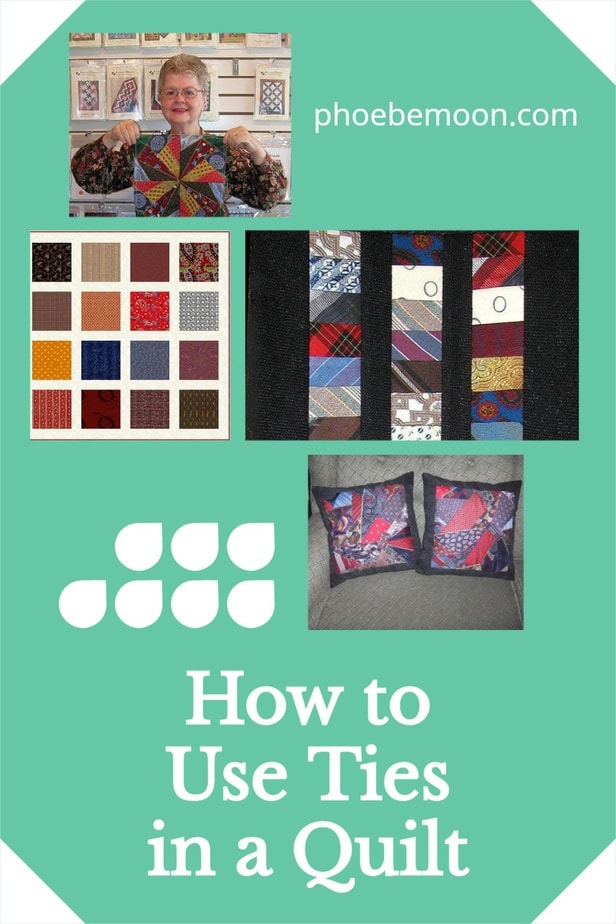
To avoid cutting your ties, try a Dresden Plate or Sunburst design. Leave the end of the tie intact and just sew the edges to a foundation for a three-dimensional effect. Why not put the tie label in the center of each circle?
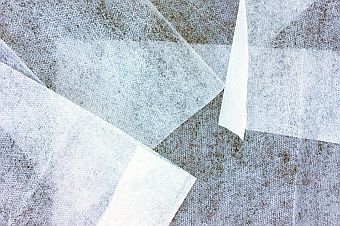
Bias edges have a tendency to stretch which means you either need to be very careful when handling your cut tie pieces, or you need to stabilize them. This can be done by ironing a very lightweight fusible to the back of the tie before cutting it. Do not try to use fusible interfacing as a foundation – the fusible melts at a lower temperature and will cause your project to buckle.
If you don’t wish to add bulk to the fabric, consider sewing the cut tie pieces to a foundation, either paper or
fabric.
Sewing to a Foundation
Choose a pattern for your ties that will use them to their best advantage. Remember that silk ties tend to be narrow and slippery, so choose a pattern that uses narrow strips firmly secured. Possibly a sew and
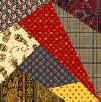
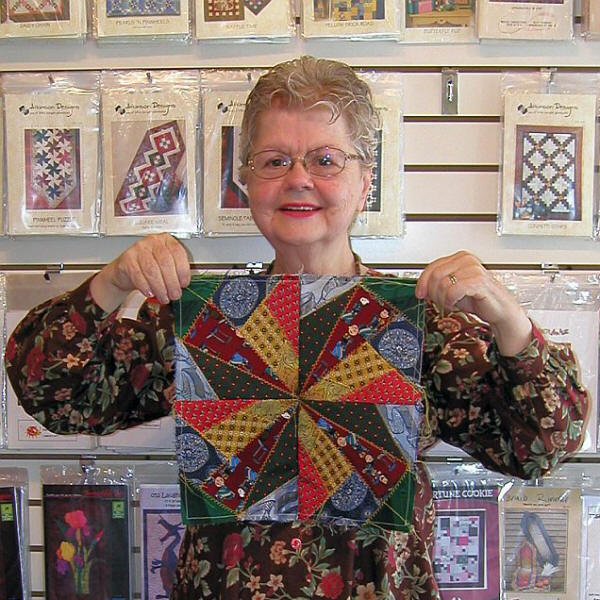
flip technique, like a crazy patch. For example, the crazy patch “Stack N Slash” design to the right will make the wall hanging below. Use those specialty stitches on your machine to embroider the seams.
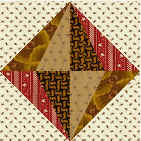
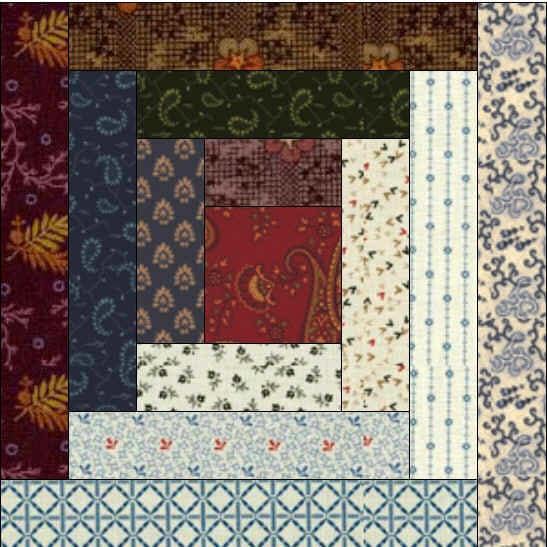
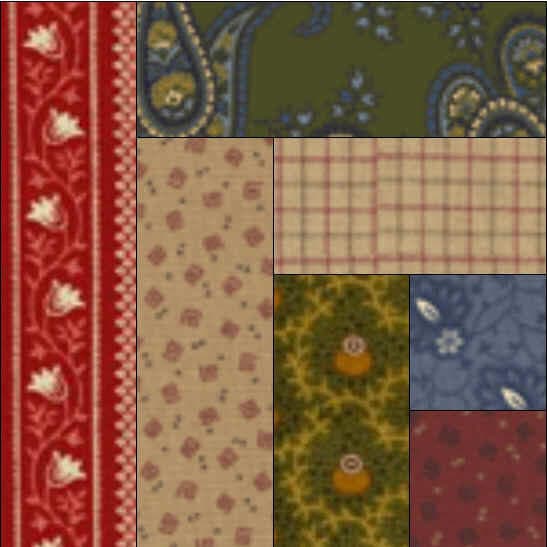
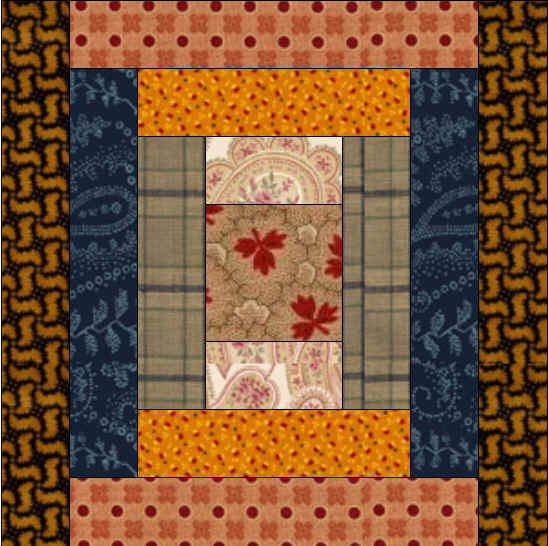
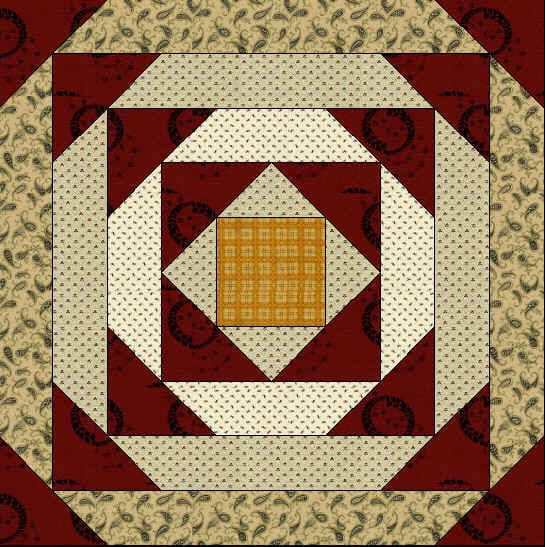
The log cabin design (below) also uses narrow strips. There are several types of log cabins: the traditional; the off-center; the pineapple; and courthouse steps. There is no rule that says an item made with men’s ties has to be ALL silk ties. You can mix and match fabric types – if you need to buy additional fabric to make the design work or as an accent, do so!
 |  |  |  |
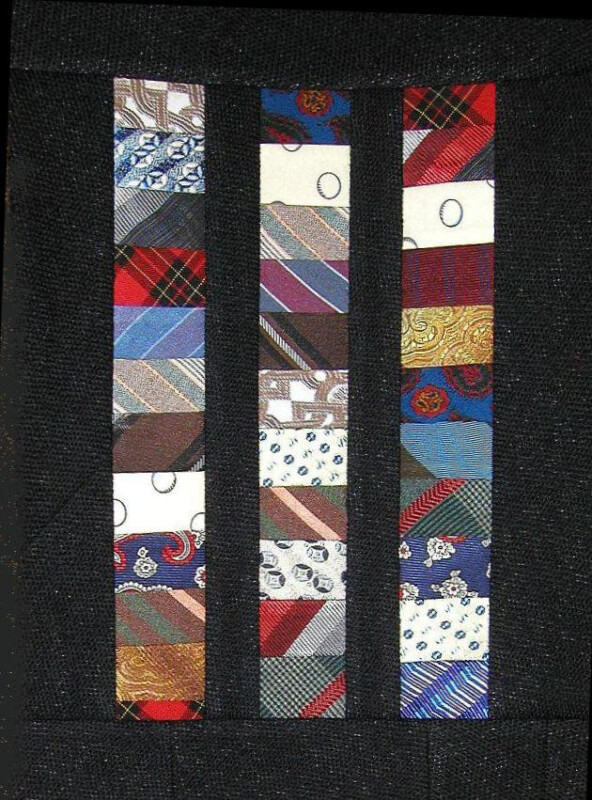
How about a Chinese Coin design with the pieces set in
black velvet? The miniature done to the right by Helene L used tie scraps sewn to a foundation using a flip and sew method and a black wool tie for the sashing and borders.
Consider cutting your tie into squares cut on the diagonal of the tie.
That puts them back on the straight of grain, doesn’t it? Now you can make a simple block quilt.
Do you need batting for your tie quilt? That’s up to you! It really depends on what you plan to do with it.
Gallery
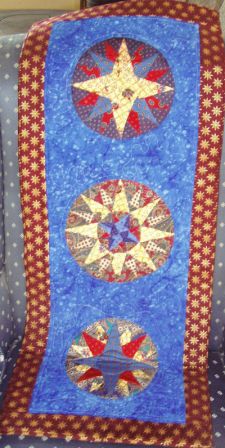
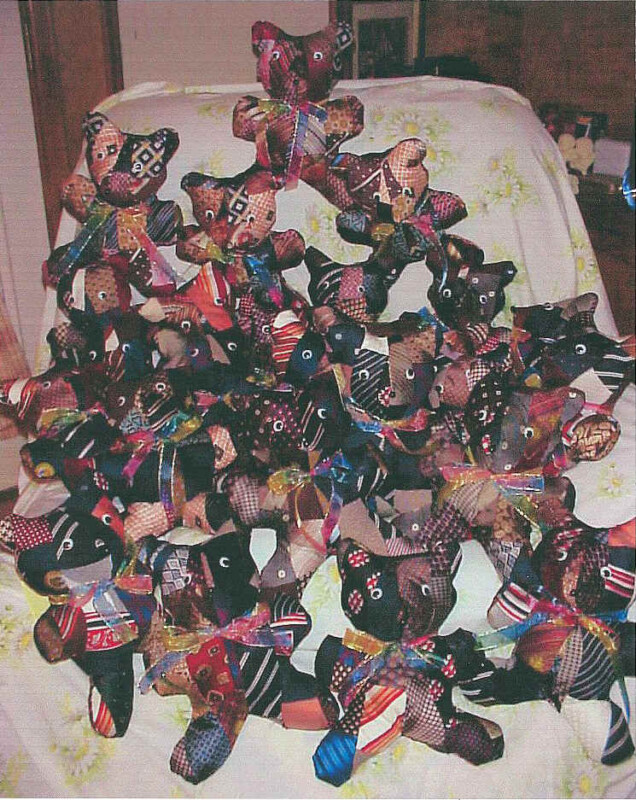
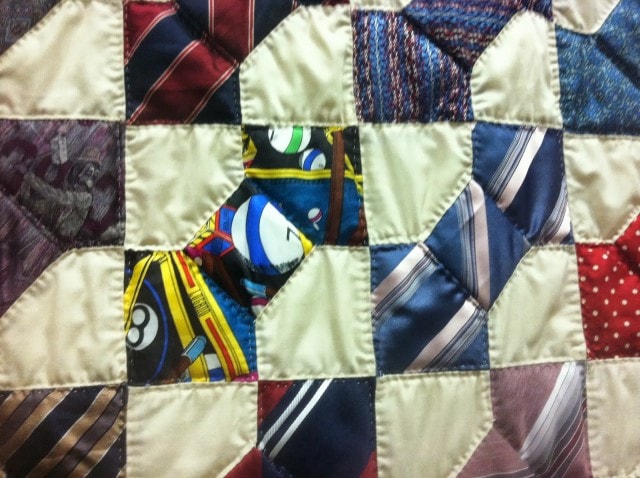
Whatever you choose to do with your ties, enjoy the process – and send me a picture! I would love to show off your project on this page.
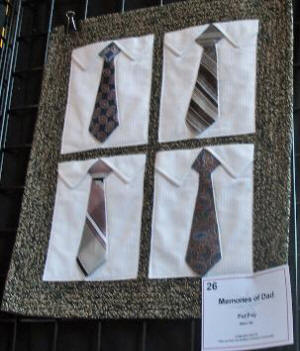
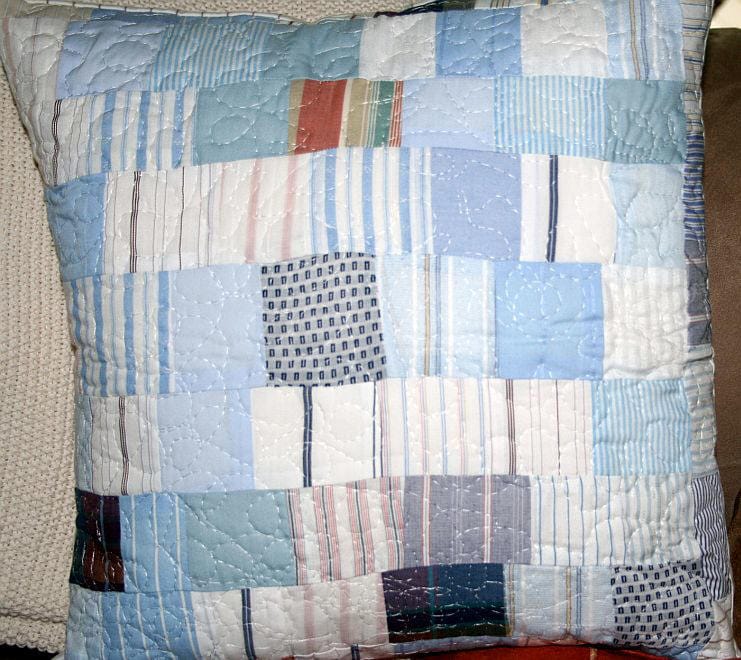
Have another tip to offer? Send it to me or reply below and I will add it here.
Don’t forget to sign up for the newsletter! Once a week, I send updates on quilt-related information I have found while wandering the web. This might be an inspiring article, a tip or tutorial I have discovered (or written), and occasionally exclusive offers & discounts as well as immediate access to the secret page of free patterns, guides, and printables. You can follow my page on Facebook, or join the Make Believe Quilters group, too.
I have stabilized my ties, but when I try to sew them onto muslin to make a quilt top, the flimsy ties pucker and the heavier ties cause a thread nest on the underneath! How in the world to you sew so many different weights of silk and polyester? I’m so disappointed.
If you have pressed the stabilizer on the back, you shouldn’t be having this problem. My guess would be a problem with the thread in the machine. Try taking all the thread out – including the bobbin – and rethreading it. While you have the bobbin out, clean the lower case of the machine. It might be filled with fuzz. The simplest things just work sometimes. Then practice on a piece of muslin. If you are still getting tangles, try adjusting the pressure on the pressure foot and/or changing your stitch length. If that fails, you may need to take your machine in for service.
Love all the tie ideas. Do you have any ideas on how to use women’s scarfs? I have a cousin who asked me to use her mother’s scarves (probably 30+) into a memento for her. I like the pillow idea but would like to explore others as well.
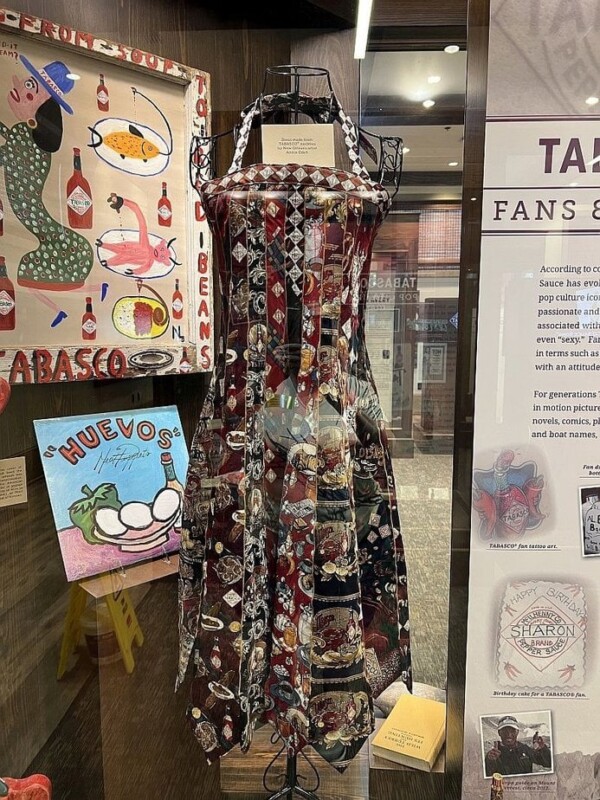
I was drawn to your site by the Dress Quilt made with neckties. Do you have a pattern for the quilt? I am willing to purchase a copy if it is available. My cousin saw the picture and would like me to use her fathers’ ties to make one for her. Thank you.
I think you are referring to a pin on Pinterest? That’s not mine, I just passed it on. As I recall, it was an art quilt made by a Danish quilter called “Forget Me Not”.